
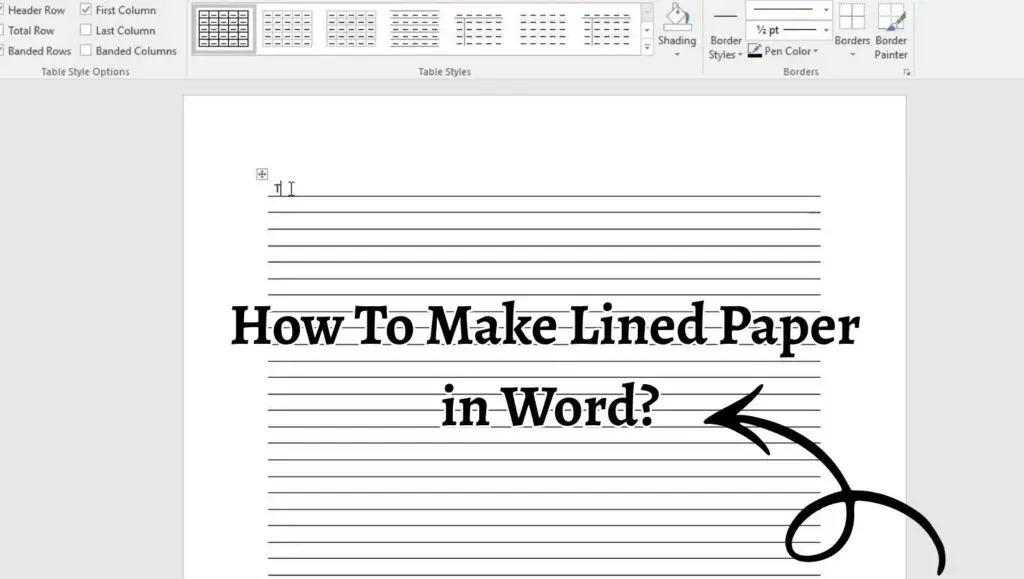
How To Make Lined Paper in Word? [Step-by-Step]
Microsoft Word does not include a direct button labeled lined paper, but it provides flexible formatting tools that make it easy to recreate the same effect. The three most reliable approaches are using tables, paragraph borders, and shapes. Among these, the table method is the most popular because it ensures uniform spacing and clean alignment.
In this guide, you will learn how to make lined paper in Word step by step using different methods, including the most popular method.
Let’s start crafting your Word document!
How To Make Lined Paper in Word?
To make lined paper in Microsoft Word, you can use tables, paragraph borders, or shapes to create evenly spaced horizontal lines. The most common method is inserting a table, removing vertical borders, and adjusting row height to match your desired line spacing. This allows you to create printable lined paper that looks neat, consistent, and fully customizable.
Below, I have explained the detailed steps for the table-based method, which is ideal for most users. I have also explained 2 Alternative methods, so you can experiment and decide which suits your needs.
So let’s start!
Step 1: Open a New Document and Set Page Layout
Start by opening Microsoft Word and creating a new blank document. Before adding lines, it is important to adjust the page layout so your lined paper looks correct when printed.
Go to the Layout tab and set the page size according to your needs. Most users choose A4 or Letter size. Next, adjust the margins. Narrow margins allow more writing space, while wider margins are useful for binding or teacher comments.
This step ensures your lined paper fits well on the page and avoids uneven spacing later.
Step 2: Insert a Table to Create Lines
Place your cursor at the top of the page. Navigate to the Insert tab and click on Table. Choose a table with one column and multiple rows. The number of rows depends on how many lines you want on the page.
For example, if you want full-page lined paper, inserting around 25 to 35 rows works well for standard handwriting. You can always add or remove rows later.
The table will act as the foundation for your lined paper, with each row representing one writing line.
Step 3: Adjust the Row Height for Even Spacing
Once the table is inserted, select the entire table by clicking the small square icon in the top-left corner of the table.
Right-click and select Table Properties. Open the Row tab and check the option that says specify height. Set the height to a fixed value such as 0.8 cm, 1 cm, or 0.5 inches, depending on how much space you want between lines.
Choosing a fixed row height is essential because it keeps all lines evenly spaced and prevents Word from resizing rows automatically.
Step 4: Remove Vertical Borders to Create Horizontal Lines
At this stage, the table still looks like a grid. To turn it into lined paper, you need to remove unnecessary borders.
Select the entire table again. Go to the Table Design tab and click on Borders. First, remove all borders. Then, apply only the Bottom Border to the table rows.
This creates clean horizontal lines across the page while keeping the vertical borders hidden. The result closely resembles traditional notebook paper.
Step 5: Customize Line Color and Thickness
To improve readability or match specific requirements, you can customize the appearance of the lines.
With the table still selected, go to Borders and Shading. Choose a lighter color, such as light blue or gray, if you want a softer look. Adjust the line width to make lines thinner or slightly thicker, depending on printing quality.
Using subtle colors helps reduce eye strain and makes the page look more professional.
Step 6: Add a Header Line or Margin Line
Many notebooks include a margin line or header space. You can recreate this effect in Word by modifying the table.
To add a top margin, increase the height of the first row. For a vertical margin line, insert a second column, apply borders only to that column, and then remove its text area.
This step is optional but useful for creating school-style lined paper or custom stationery.
Step 7: Lock the Layout to Prevent Changes
After creating your lined paper, you may want to prevent accidental changes.
Select the table, go to Table Properties, and disable options that allow automatic resizing. You can also protect the document by using Restrict Editing under the Review tab.
This is especially helpful when sharing the document with students or colleagues.
2 Alternative Methods
Using Paragraph Borders
Another way to make lined paper in Word is by using paragraph borders. This method works well for shorter documents or digital notes.
Start by pressing Enter multiple times to create blank paragraphs. Select all paragraphs, go to the Home tab, and click the Borders button. Choose Bottom Border.
Then, adjust paragraph spacing using the Line and Paragraph Spacing settings. While this method is quick, it offers less precision compared to tables.
Using Shapes
You can also draw horizontal lines using the Shapes tool.
Go to the Insert tab, choose Line, and draw straight lines across the page. Copy and paste the line to create multiple rows, then use alignment tools to space them evenly.
This approach gives maximum visual control but can be time-consuming for full-page layouts.
Faqs
Can I print lined paper created in Word?
Yes, lined paper created in Word is fully printable. Make sure your printer settings match the page size and margins used in the document to avoid cut-off lines.
Which method is best for beginners?
The table method is best for beginners because it provides consistent spacing and easy customization without complex formatting.
Can I save my lined paper as a reusable template?
Yes, you can save the document as a Word template. Go to Save As and choose Word Template format. This allows you to reuse the lined paper design anytime.
How do I create college-ruled or wide-ruled paper?
Adjust the row height in the table. Smaller row heights create college-ruled paper, while larger row heights produce wide-ruled paper.
Does this work in all versions of Word?
Yes, these methods work in most modern versions of Microsoft Word, including Word 2016, Word 2019, Word 2021, and Microsoft 365.