
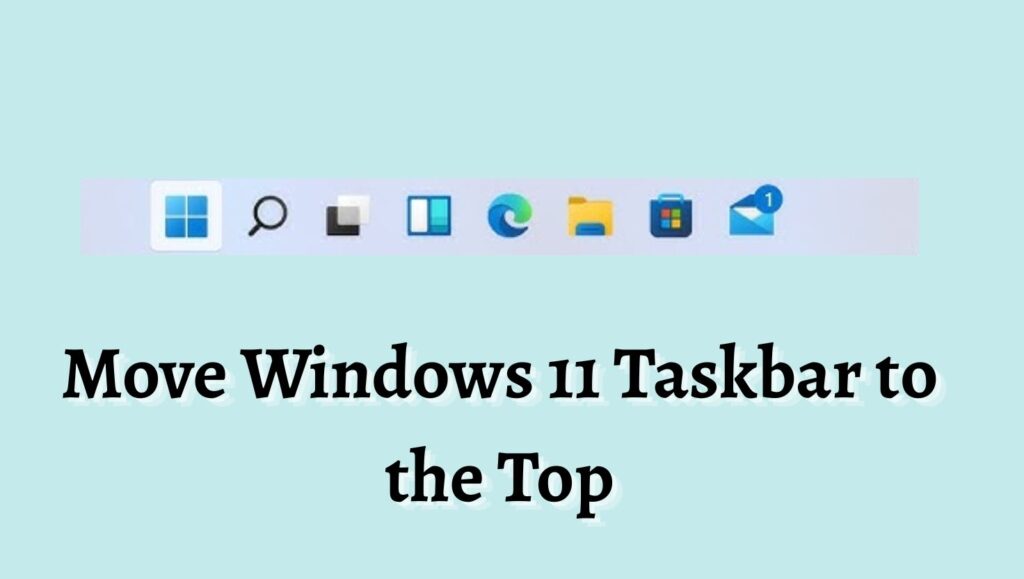
How to Move the Windows 11 Taskbar to the Top of the Screen?
In Windows 11, Microsoft has restricted taskbar customization, removing the drag-and-drop repositioning feature that existed in Windows 10. As a result, users cannot simply move the taskbar through system settings.
However, the position of the taskbar is still controlled internally through the Windows Registry, which stores configuration data for the operating system. By editing a specific registry value, you can manually change where the taskbar appears on your screen.
The taskbar position is defined by a binary value within a registry key called StuckRects3. Each position corresponds to a specific value:
- The top position is controlled by the value 01
- Bottom position uses the value 03, which is the default
- Left and right positions exist, but are unstable in Windows 11
While this method works effectively for moving the taskbar to the top, it is important to follow each step carefully. Incorrect registry changes can cause system issues, so it is always recommended to proceed with caution.
Let’s learn the method to reposition your taskbar, along with explanations and precautions to ensure everything works smoothly.
How to move the Windows 11 taskbar to the top of the Screen?
To move the Windows 11 taskbar to the top of the screen, open the Registry Editor, navigate to the StuckRects3 key, modify the Settings binary value by changing the position value from 03 to 01, then restart Windows Explorer to apply the changes.
Step 1: Open the Registry Editor
To begin the process, you need to access the Registry Editor, which is the tool used to modify system-level settings in Windows.
Press the Windows key along with the R key to open the Run dialog box. In the input field, type regedit and press Enter. A User Account Control prompt may appear asking for permission to make changes to your device. Click Yes to proceed.
Once the Registry Editor opens, you will see a hierarchical structure of folders on the left side. These folders contain various system settings, and you will need to navigate to a specific path in the next step.
Step 2: Navigate to the Taskbar Registry Key
Inside the Registry Editor, you must locate the key that controls the taskbar layout.
Using the left sidebar, navigate through the following path carefully:
HKEY_CURRENT_USER
then Software
then Microsoft
then Windows
then CurrentVersion
then Explorer
then StuckRects3
You can expand each folder by clicking the arrow next to it. Once you reach the StuckRects3 folder, click on it to view its contents on the right side of the window.
This key contains the configuration responsible for taskbar positioning and layout.
Step 3: Open the Settings Binary Value
On the right side of the Registry Editor window, you will see a file named Settings. This is a binary value that stores multiple configuration parameters, including the taskbar position.
Double-click on the Settings entry. A new window will appear displaying a grid of hexadecimal values. This may look complex at first, but you only need to change one specific value.
Each row and column represents a byte of data. The value that controls the taskbar position is located in the second row.
Step 4: Modify the Taskbar Position Value
In the binary editor window, locate the second row of values. Look for the column labeled 00000008. In this position, you will see a value that is typically set to 03, which represents the bottom position.
To move the taskbar to the top of the screen, change this value from 03 to 01.
Make sure you do not modify any other values in the grid, as they control different aspects of the taskbar and system behavior.
After making the change, click OK to save your modification.
Step 5: Restart Windows Explorer
After updating the registry value, the change will not take effect immediately. You need to restart the Windows Explorer process to apply the new taskbar position.
Press Ctrl Shift Esc to open the Task Manager. If it opens in compact mode, click on More details to expand it.
Scroll down the list of processes until you find Windows Explorer. Click on it, then click the Restart button at the bottom right of the window.
Your screen may flicker briefly as the explorer process restarts. Once it finishes, you should see the taskbar repositioned at the top of your screen.
Step 6: Verify the Taskbar Position
After restarting Windows Explorer, check the top of your screen to confirm that the taskbar has moved successfully.
You should now see the Start menu, pinned apps, and system tray icons displayed at the top edge of your display. All functionalities should remain intact, although some alignment or animation differences may be noticeable due to Windows 11 limitations.
If the taskbar does not move, double-check the registry value and ensure you changed the correct byte.
Step 7: Restart for Stability
Although restarting Windows Explorer is usually sufficient, some systems may require a full restart to ensure stability.
Restart your computer and verify that the taskbar remains at the top after logging back in. This step helps confirm that the registry change has been applied permanently.
FAQs
Is it safe to modify the Windows Registry?
Yes, it is safe as long as you follow the instructions carefully. The registry is a sensitive part of the operating system, so avoid changing values that are not mentioned in this guide. Creating a backup before making changes is always recommended.
Can I move the taskbar to the left or right side?
Technically, the registry allows values for left and right positions. However, in Windows 11, these positions are not fully supported and may cause display issues or broken layouts.
Will this method work on all versions of Windows 11?
This method works on most versions, but Microsoft may restrict or change functionality in future updates. If the tweak stops working, it is likely due to a system update.
How do I move the taskbar back to the bottom?
To revert the change, repeat the same steps and change the value back from 01 to 03. Then restart Windows Explorer.
Do I need third-party tools to move the taskbar?
No, this method does not require any third-party software. However, some users prefer customization tools that provide additional features and easier controls.
Why did Microsoft remove taskbar repositioning?
Microsoft redesigned the taskbar in Windows 11 with a simplified interface. As part of this redesign, many customization features were removed to maintain consistency and stability.