
Add & Save Files to a Memory Stick or USB Drive
A memory stick, also called a USB flash drive or USB drive, is a small portable storage device that lets you save, transfer, and back up files between computers and other compatible devices. You can use it to store documents, photos, videos, music, PDFs, software files, and folders.
Saving files to a USB drive is usually simple, even if you have never used one before. You generally need to connect the drive to your computer, open it in File Explorer, locate the files you want to save, and copy or move them to the USB drive.
Below, I have explained everything in detail!
Add & Save Files to a Memory Stick or USB Drive
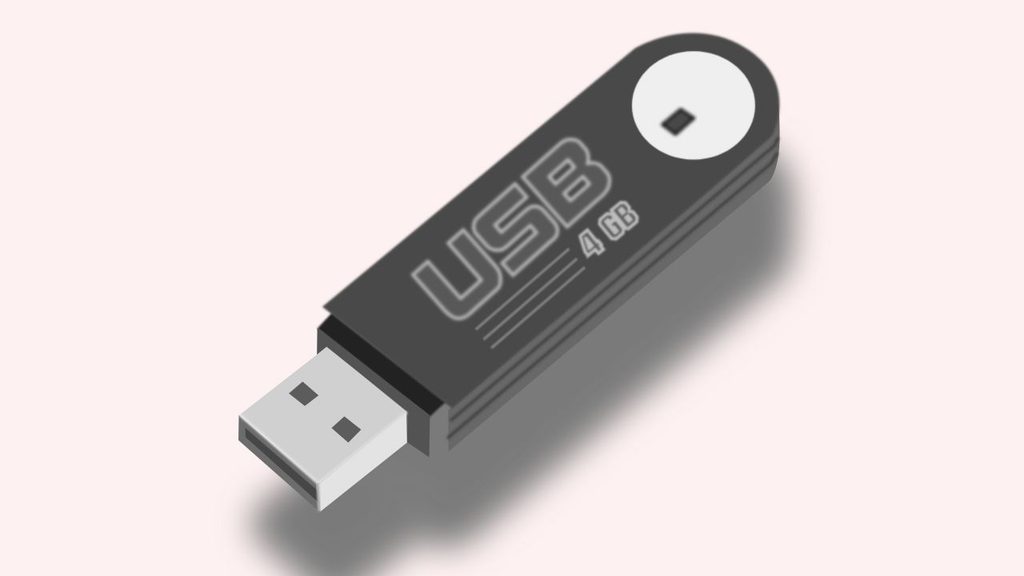
Before you begin, make sure you have a USB flash drive with enough free storage space. You should also know where the files you want to save are located on your computer.
The instructions below are primarily written for Windows 11 and Windows 10.
Step 1: Connect the USB Drive to Your Computer
Start by locating an available USB port on your computer. On a desktop PC, USB ports are commonly located on the front or back of the computer. On a laptop, they are usually positioned along the sides.
Insert the USB drive into the port. Make sure it is inserted in the correct orientation, and do not force it if it does not fit.
Windows should detect the drive automatically. You may see a notification indicating that the USB device has been connected. Give Windows a few seconds to recognize the device before continuing.
If nothing appears on the screen, do not immediately assume the USB drive is faulty. You can manually check for it through File Explorer.
Step 2: Open File Explorer
Press Windows + E on your keyboard to open File Explorer. You can also open it by selecting the File Explorer icon from the taskbar or searching for File Explorer from the Start menu.
Once File Explorer opens, look at the left side of the window. Select This PC.
The This PC section displays the storage devices connected to your computer. Your USB drive should appear under Devices and drives.
Step 3: Identify Your USB Drive
Look for the USB drive under Devices and drives. Windows may display it using a name such as USB Drive, Removable Disk, or the manufacturer’s name.
You will also usually see a drive letter, such as E:, F:, or G:. The exact letter can be different on every computer.
If several storage devices are connected, check the available storage information to identify the correct USB drive. This is important because selecting the wrong drive could result in accidentally copying files to another storage device.
Step 4: Open the USB Drive
Double-click the USB drive in File Explorer to open it.
You may see existing folders or files if the drive has been used before. If it is a new or empty USB drive, the window may contain nothing.
You can create folders on the USB drive to keep your files organized. For example, you could create folders named Documents, Photos, Videos, or Work Files.
To create a folder, right-click an empty area inside the USB drive window, select New, and then choose Folder. Type a name for the folder and press Enter.
Step 5: Locate the Files You Want to Save
Open another File Explorer window and navigate to the location containing the files you want to save.
For example, your documents may be stored in Documents, pictures in Pictures, and downloaded files in Downloads.
Take a moment to verify that you have selected the correct files. You can select one file by clicking it once.
To select multiple files, hold down the Ctrl key while clicking each file. If you want to select a continuous group of files, click the first file, hold Shift, and then click the last file.
Step 6: Copy the Files to the USB Drive
The safest method for most beginners is to copy the files rather than move them. Copying creates another version on the USB drive while leaving the original file on your computer.
Select the file or files you want to copy, then right-click the selection and choose Copy. You can also press Ctrl + C on your keyboard.
Next, return to the USB drive window. Open the folder where you want to store the files, right-click an empty area, and select Paste. Alternatively, press Ctrl + V.
Windows will begin copying the files to the USB drive. The amount of time required depends on the file size, the number of files, and the speed of the USB drive.
Step 7: Wait for the Files to Finish Copying
Do not remove the USB drive while Windows is still copying files.
For a small document, the transfer may finish almost instantly. Large videos, photographs, or groups of files can take considerably longer.
If Windows displays a copying progress window, wait until the transfer has completed. If you close the window or disconnect the drive too early, the copied files may be incomplete or corrupted.
Step 8: Check That the Files Were Saved
After the copying process finishes, check the USB drive to make sure the files are actually there.
Open the appropriate folder and look for the copied files. You can double-click a document or picture to confirm that it opens correctly.
For important files, checking the copied version before removing the USB drive is a good habit. It allows you to repeat the transfer if something went wrong.
Step 9: Safely Eject the USB Drive
Once you have finished using the USB drive, safely eject it before physically removing it from the computer.
Find the USB drive icon in the notification area near the Windows taskbar clock. Select it and choose the option to eject the USB drive.
You can also open File Explorer, right-click the USB drive, and select Eject.
Wait until Windows indicates that the device can be removed safely. You can then unplug the USB drive.
Safely ejecting the drive reduces the risk of losing recently copied data, especially when Windows is still completing background operations.
FAQs
Can I save any type of file to a USB drive?
Most common files can be saved to a USB drive, including documents, photos, videos, music, PDFs, and folders. However, the drive must have enough available storage space, and certain file systems can have individual file-size limitations.
Why is my USB drive not showing in File Explorer?
Try disconnecting and reconnecting the USB drive. You can also try another USB port. If it still does not appear, the problem could involve the USB drive, its file system, Windows, or the computer’s USB hardware.
Should I copy or move files to a USB drive?
For beginners, copying files is generally safer. The original remains on your computer, while another copy is placed on the USB drive. After confirming that the copied files work correctly, you can decide whether the originals are still needed.
Can I save a whole folder to a USB drive?
Yes. You can copy an entire folder to the USB drive. Windows will copy the folder and its contents, including files and subfolders.
Can I use the USB drive on another computer?
Usually, yes. A USB flash drive is designed for transferring files between compatible devices. Plug it into another computer and open it through File Explorer to access your saved files.
Why can’t I copy a large file to my USB drive?
The USB drive may use a file system that does not support files above a certain size, even when enough free space is available.
For example, FAT32 has a maximum individual file size of about 4 GB. The drive may need to use another file system, such as exFAT, depending on how you plan to use it.