
Fixed Drives Are Not Showing in Windows 11
Sometimes, Windows 11 cannot display a drive because it does not have an assigned drive letter. In other cases, the drive may be offline, unallocated, disconnected, or affected by an outdated storage driver.
You might also experience this problem after installing a Windows update, connecting a new SSD, changing storage settings, or reinstalling Windows 11.
In this guide, I’ll walk you through several practical ways to fix drives not showing in Windows 11.
Fix Drives Not Showing in Windows 11
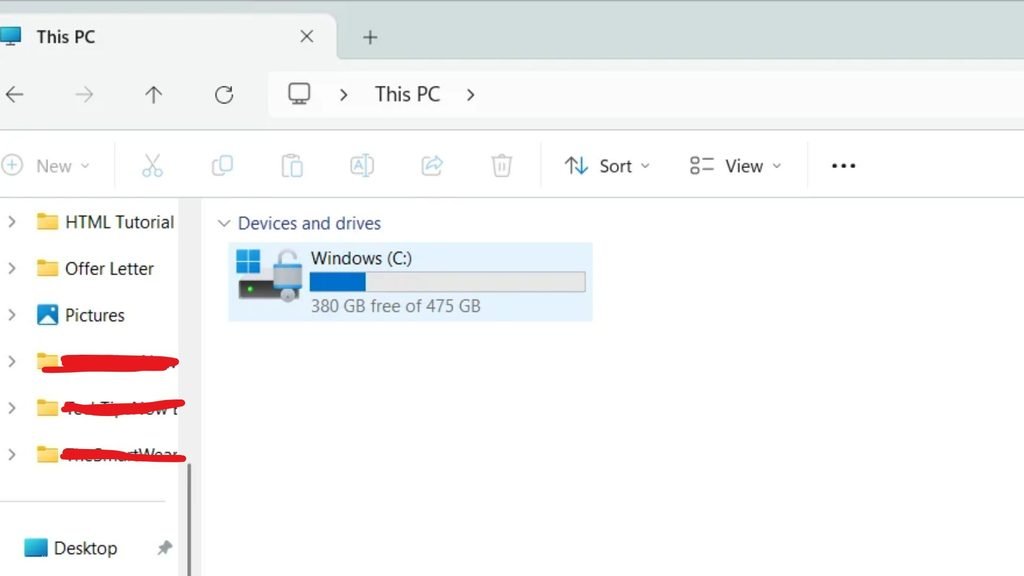
To fix drives not showing in Windows 11, open Disk Management and check whether the missing drive appears there. Assign a drive letter if one is missing, bring the disk online if it is offline, and check for unallocated space. You can also reconnect the drive, update storage drivers, run hardware troubleshooting checks, and restart Windows Explorer.
Before trying these solutions, remember one important thing: Do not format or initialize a drive containing important data unless you understand the consequences. These operations can make existing files inaccessible or lead to data loss.
Let’s go through the solutions one by one.
Step 1: Restart Your Windows 11 PC
Sometimes, Windows 11 temporarily fails to recognize a connected storage device because of a minor system glitch. A simple restart can refresh the hardware detection process and make the missing drive visible again.
To restart your computer, click the Start button on the taskbar and select the Power icon. Choose Restart from the available options.
Once your computer restarts, open File Explorer by pressing Windows + E. Select This PC from the left sidebar and check whether your missing drive appears.
If you are using an external hard drive or USB flash drive, disconnect it before restarting. Once Windows loads completely, reconnect the device and give it a few seconds to appear.
If the drive is still missing, move to the next solution.
Step 2: Check the Drive in Disk Management
Disk Management is one of the most useful Windows tools for troubleshooting missing hard drives and SSDs. It displays connected storage devices, including partitions that might not appear in File Explorer.
Press Windows + X on your keyboard and select Disk Management from the Quick Link menu.
Alternatively, press Windows + R, type diskmgmt.msc, and hit Enter.
Wait for Disk Management to load. Look through the list of available disks and check whether your missing drive appears.
If you see the drive but it does not have a drive letter, Windows may not be displaying it in File Explorer because of that missing letter.
If the disk appears as Offline, you can right-click its disk label and select Online.
If it shows Unallocated, the drive has space that is not currently assigned to a partition. Do not create a new volume if the disk previously contained important files.
Disk Management helps you identify the actual problem before making unnecessary changes.
Step 3: Assign a Drive Letter
A missing drive letter is one of the most common reasons a storage partition does not appear in File Explorer.
For example, your computer may have an SSD partition that should appear as Local Disk (D:), but Windows has not assigned it a letter.
To fix this, open Disk Management again by pressing Windows + R, typing diskmgmt.msc, and pressing Enter.
Find the missing drive in the lower section. Right-click its existing healthy partition and select Change Drive Letter and Paths.
Click Add if no drive letter is assigned. If a letter is already present but you want to change it, select Change.
Now, choose an available drive letter from the dropdown menu and click OK.
Confirm your selection if Windows displays a warning.
Open File Explorer and select This PC. Your drive should now appear with its newly assigned letter.
Note: Avoid changing drive letters for system partitions or applications that depend on specific drive paths.
Step 4: Bring the Offline Disk Online
Sometimes, Windows 11 detects a connected hard drive but marks it as Offline. This can happen after connecting a previously used disk, changing storage hardware, or encountering a configuration issue.
You can bring it online through Disk Management.
Press Windows + X and select Disk Management.
Locate the disk marked Offline. Right-click the disk label on the left side, such as Disk 1, and select Online.
Wait a few seconds for Windows to process the change.
If the disk contains a healthy partition, check whether it now appears in File Explorer.
If Windows reports a signature collision or another disk configuration problem, do not randomly change disk identifiers. Investigate the specific error first, particularly if the disk contains important data.
Step 5: Check Whether the Drive Is Properly Connected
If your internal or external drive is not showing anywhere in Windows 11, the problem might be physical rather than software-related.
For an external drive, disconnect the USB cable and reconnect it securely. Try another USB port on your computer. If possible, use a different compatible USB cable.
For an internal HDD or SSD, check whether its SATA data cable and power connector are properly attached.
If you are using an M.2 SSD, make sure it is correctly seated in its motherboard slot.
Before opening your desktop computer or laptop, shut it down completely and disconnect the power source. Avoid opening a laptop if you are unfamiliar with its hardware.
You can also connect the external drive to another computer to determine whether the problem is related to Windows or the storage device itself.
If the drive makes unusual clicking sounds, disconnect it and consider professional data recovery assistance.
Step 6: Update Disk Drivers
Outdated, corrupted, or incompatible storage drivers can prevent Windows 11 from detecting connected drives correctly.
To check your drivers, right-click the Start button and select Device Manager.
Expand the Disk drives category. You should see the storage devices recognized by Windows.
Right-click the relevant drive and select Update driver.
Choose Search automatically for drivers and allow Windows to check for available updates.
You can also expand Storage controllers and check whether any controller devices have warning symbols.
If Windows reports that the best drivers are already installed, visit your computer or motherboard manufacturer’s official website to check for compatible storage controller updates.
Restart your computer after installing any driver updates and check whether the missing drive appears.
Step 7: Scan for Hardware Changes
Windows 11 sometimes fails to refresh its hardware information after connecting a new storage device. Device Manager includes an option to scan for newly connected hardware.
Open Device Manager using the Windows + X menu. Select your computer’s name at the top of the device list.
Now, click the Action menu and select Scan for hardware changes.
Windows will search for connected devices and attempt to recognize hardware that was not previously detected.
Wait for the scan to finish. Expand the Disk drives category and check whether your missing drive appears.
If Windows detects the drive, open File Explorer and see whether it is accessible.
Step 8: Restart Windows Explorer
If your drive appears in Disk Management but not in File Explorer, Windows Explorer might not be refreshing its display correctly.
You can restart it without restarting your entire computer.
Press Ctrl + Shift + Esc to open Task Manager. Find Windows Explorer under the Processes section. Right-click it and select Restart.
Your taskbar and desktop might disappear briefly. This is normal because Windows is restarting the Explorer process.
Once it comes back, press Windows + E to open File Explorer.
Select This PC and check whether your missing drive is visible.
Step 9: Check Hidden Drives in File Explorer
Sometimes, a drive is connected and available, but you might not see it because of File Explorer settings or navigation issues.
Open File Explorer using Windows + E.
Select This PC from the left navigation pane.
Click View, select Show, and make sure the Hidden items option is enabled.
You can also check File Explorer’s navigation settings by clicking the three-dot menu and selecting Options.
Under the View tab, review the navigation settings and restore the default configuration if you have previously customized them.
Click Apply and then OK.
This solution is more useful when a drive or its contents are hidden by Explorer settings rather than missing at the hardware level.
Step 10: Run the CHKDSK Command
If Windows detects your drive but cannot access it properly, its file system might have errors.
The CHKDSK command can help identify and repair certain file system problems.
Click Start, search for Command Prompt, and select Run as administrator.
Type the following command:
chkdsk D: /f
Replace D with the actual drive letter of your affected drive.
Press Enter and allow Windows to complete the scan.
The /f parameter tells CHKDSK to fix detected file system errors.
Important: Do not run repair commands blindly on a failing drive or a disk containing irreplaceable files. If the drive is making unusual noises or repeatedly disconnecting, prioritize recovering your data before attempting repairs.
FAQs
Why is my hard drive not showing in Windows 11?
Your hard drive might not appear because of a missing drive letter, disconnected cables, outdated drivers, an offline disk, or file system problems. Check Disk Management first to determine whether Windows recognizes the drive.
How do I find a missing SSD in Windows 11?
Press Windows + X, select Disk Management, and look for your SSD in the available disk list. If it appears without a drive letter, assign one. If it does not appear, check its physical connection and BIOS or UEFI detection.
Why is my drive showing in Disk Management but not File Explorer?
This usually happens when the partition does not have a drive letter or Windows cannot access its file system. Open Disk Management, check the partition status, and assign an available drive letter if appropriate.
Can Windows 11 detect a hard drive without formatting it?
Yes. Windows 11 can detect and display a hard drive without formatting it. If the drive contains existing files, avoid formatting or initializing it simply because Windows asks you to do so.
What should I do if my external hard drive is not detected?
Try another USB port, replace the USB cable, reconnect the drive, and test it on another computer. You should also check Disk Management and Device Manager to see whether Windows recognizes the device.