
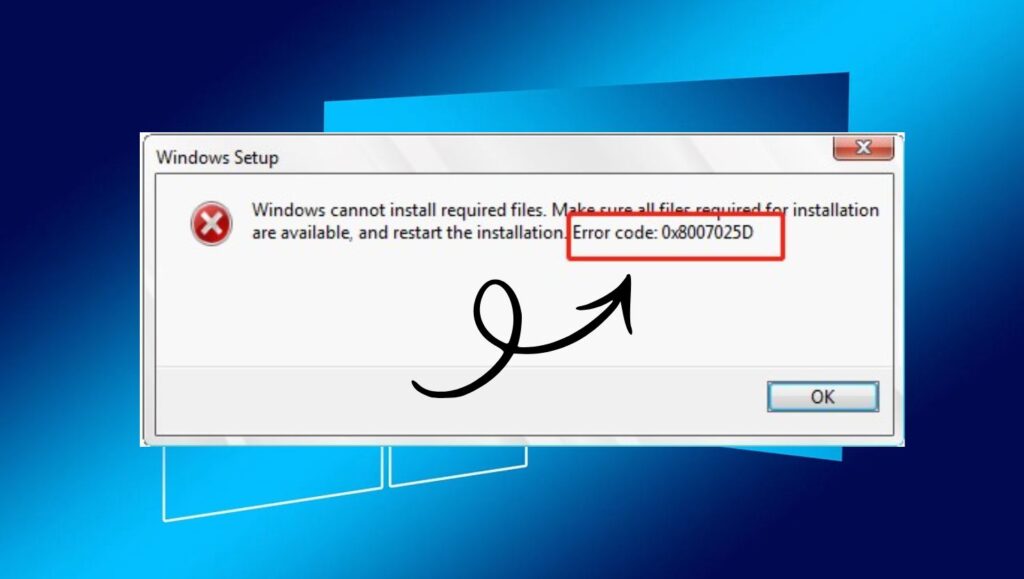
Fix “Error Code 0x8007025d” on Windows 11
Running into Error Code 0x8007025d while installing or resetting Windows 11 can be frustrating, especially when everything seems set up correctly. This error usually shows up during the installation process, often stopping progress with a message related to file copying or corrupted data.
In simple terms, this error typically points to a problem with how Windows is reading or writing data during installation. That could be caused by faulty installation media, bad USB drives, corrupted ISO files, insufficient system resources, or even RAM issues.
The good news is that this error is fixable. You do not need advanced technical skills to resolve it. In this guide, you will learn exactly how to troubleshoot and fix Error Code 0x8007025d on Windows 11 using clear, beginner-friendly steps.
Causes for “Error Code 0x8007025d” on Windows 11
Error Code 0x8007025d is often linked to data transfer interruptions during the Windows installation process. When Windows tries to copy installation files from your USB drive to your system, something interferes with that process. This could be due to:
- Corrupted installation files: If your ISO file is incomplete or damaged, Windows cannot properly read it.
- Faulty or incompatible USB drive: Some USB drives, especially older or low-quality ones, can cause data errors.
- Problematic USB ports: Using a USB 3.0 port sometimes causes instability during installation.
- Bad or unstable RAM: Faulty memory can interrupt file copying and trigger this error.
- Hardware conflicts: Extra connected devices can interfere with installation.
Because the root cause can vary, the best approach is to work through the fixes step by step. Each solution targets a specific possible cause.
Fix “Error Code 0x8007025d” on Windows 11
To fix Error Code 0x8007025d on Windows 11, recreate your installation media using a fresh ISO file, try a different USB port or drive, disconnect unnecessary hardware, and check your RAM for issues. In many cases, switching to a USB 2.0 port or reducing installed memory temporarily resolves the problem.
Step 1: Recreate the Windows 11 Installation Media
One of the most common reasons behind this error is a corrupted or incomplete installation file. Even if the file downloaded successfully, it might still have hidden issues.
Start by downloading a fresh copy of Windows 11 using the official Media Creation Tool. Avoid using third-party sources, as they often include modified or incomplete files.
After downloading, use the tool to create a bootable USB drive. Make sure your USB drive has at least 8 GB of storage and is completely formatted before use. When formatting, choose the default settings to ensure compatibility.
This step ensures that your installation files are clean and properly structured. If the error was caused by file corruption, this alone can resolve it.
Step 2: Try a Different USB Drive or Port
If recreating the installation media does not fix the issue, the problem might be with your USB drive or port.
Start by plugging your USB drive into a different USB port on your computer. If you were using a USB 3.0 port, switch to a USB 2.0 port, as these are often more stable during Windows installations.
If possible, try using a different USB drive altogether. Some drives have compatibility issues that are not immediately obvious. A newer or higher-quality USB drive can make a big difference.
After switching the drive or port, restart your system and attempt the installation again.
Step 3: Disconnect Unnecessary Hardware
Extra hardware connected to your computer can sometimes interfere with the installation process.
Disconnect everything that is not essential, including external hard drives, printers, USB hubs, and even additional monitors. Keep only the basic components connected, such as your keyboard, mouse, and installation USB.
This helps eliminate potential conflicts and allows Windows Setup to focus solely on the installation process.
Once the installation is complete, you can reconnect your devices without any issues.
Step 4: Reduce Installed RAM Temporarily
This might sound unusual, but faulty or incompatible RAM can trigger Error Code 0x8007025d.
If your system has multiple RAM sticks installed, try removing one or more temporarily. For example, if you have 16 GB installed using two sticks, remove one and leave only 8 GB.
After reducing the RAM, restart your computer and attempt the installation again.
If the installation completes successfully, it may indicate a problem with one of your memory modules. You can test each stick individually later to identify the faulty one.
Step 5: Check RAM for Errors
Even if reducing RAM helps, it is a good idea to run a proper memory test to confirm whether your RAM is healthy.
Windows includes a built-in tool called Windows Memory Diagnostic. You can access it by searching for it in the Start menu.
Run the tool and choose to restart your computer and scan for memory problems. The system will reboot and perform a test automatically.
If any errors are detected, you may need to replace the faulty RAM module to prevent future issues.
Step 6: Format the Target Drive Before Installation
Another possible cause of this error is a problem with the drive where Windows is being installed.
During the installation process, when you reach the screen where you choose a drive, select your target drive and delete all existing partitions on it. After that, create a new partition and let Windows format it automatically.
This removes any corrupted data or incompatible file systems that might interfere with installation.
Be aware that this step will erase all data on the selected drive, so make sure you have backups if needed.
Step 7: Adjust BIOS or UEFI Settings
Your system firmware settings can also affect how Windows installs.
Enter your BIOS or UEFI settings by pressing a key like F2, Delete, or Esc during startup. Once inside, check the following settings:
Ensure that Secure Boot is enabled if your system supports it.
Set the boot mode to UEFI instead of Legacy.
Confirm that your storage mode is set to AHCI.
After making changes, save and exit the BIOS, then try installing Windows again.
Incorrect firmware settings can sometimes cause compatibility issues that trigger installation errors.
Step 8: Use a Different ISO Creation Method
If you initially created your USB using the Media Creation Tool, try using a different method, such as manually downloading the ISO file and creating the bootable drive with another tool.
Sometimes, the way the USB is created can affect how files are read during installation. Switching methods can eliminate hidden formatting or compatibility issues.
Make sure to use the recommended settings for Windows 11 when creating the bootable drive.
Step 9: Check for Overheating or Hardware Issues
Although less common, hardware instability can also cause installation errors.
Make sure your system is not overheating during the installation process. If you are installing Windows on a laptop, ensure it is placed on a flat surface with proper airflow.
For desktops, check that fans are working correctly and there is no excessive dust buildup.
Stable hardware ensures that data is processed correctly during installation.
Step 10: Try Installing Windows Again
After going through the previous steps, attempt the installation again from the beginning.
Boot from your USB drive, follow the installation prompts, and monitor whether the error appears again.
In most cases, one of the earlier fixes will resolve the issue. If the installation proceeds without interruption, you have successfully fixed Error Code 0x8007025d.
FAQs
What does Error Code 0x8007025d mean in Windows 11?
This error usually indicates that Windows cannot properly read or write installation files. It is often caused by corrupted installation media, faulty USB drives, or RAM issues.
Can a USB 3.0 port cause this error?
Yes, in some cases, USB 3.0 ports can create compatibility issues during installation. Switching to a USB 2.0 port often helps resolve the problem.
Is this error related to a hardware failure?
Sometimes. Faulty RAM or unstable hardware can trigger this error, but it is not always the cause. Software issues like corrupted files are more common.
Do I need to replace my RAM to fix this error?
Not necessarily. You should first test your RAM using diagnostic tools. Only replace it if errors are detected.
Will formatting the drive fix the issue?
Formatting the installation drive can help if the problem is caused by corrupted partitions or file systems.
Summary
Error Code 0x8007025d on Windows 11 might seem complicated at first, but it usually comes down to a few common issues like corrupted installation files, faulty USB drives, problematic ports, or unstable RAM.
By recreating your installation media, switching USB ports or devices, disconnecting unnecessary hardware, and checking your system memory, you can systematically eliminate the causes of the problem.
For most users, the fix is as simple as using a new USB drive or downloading a fresh Windows 11 ISO. In more complex cases, testing RAM or adjusting BIOS settings may be necessary.