
Fix “7-Zip CRC Error” When Installing NVIDIA Drivers [Complete Guide]
Trying to update your NVIDIA graphics driver, only to run into a 7-Zip CRC error, can be frustrating. You download the driver from NVIDIA, start the installation, and suddenly see an error saying that the archive is corrupted or that a file failed its CRC check. The installer may stop before you can finish updating your graphics card.
This issue usually happens when the downloaded driver package is incomplete, damaged, or cannot be extracted correctly. A CRC error means a file’s calculated checksum does not match the expected value. In simple terms, Windows or the extraction program has detected that some data may not be intact.
Other possible causes include antivirus interference, storage problems, memory instability, or leftover files from an earlier driver installation.
In this guide, you’ll learn how to troubleshoot the 7-Zip CRC error when installing NVIDIA drivers with straightforward steps, even if you’re new to PC troubleshooting.
Fix “7-Zip CRC Error” When Installing NVIDIA Drivers
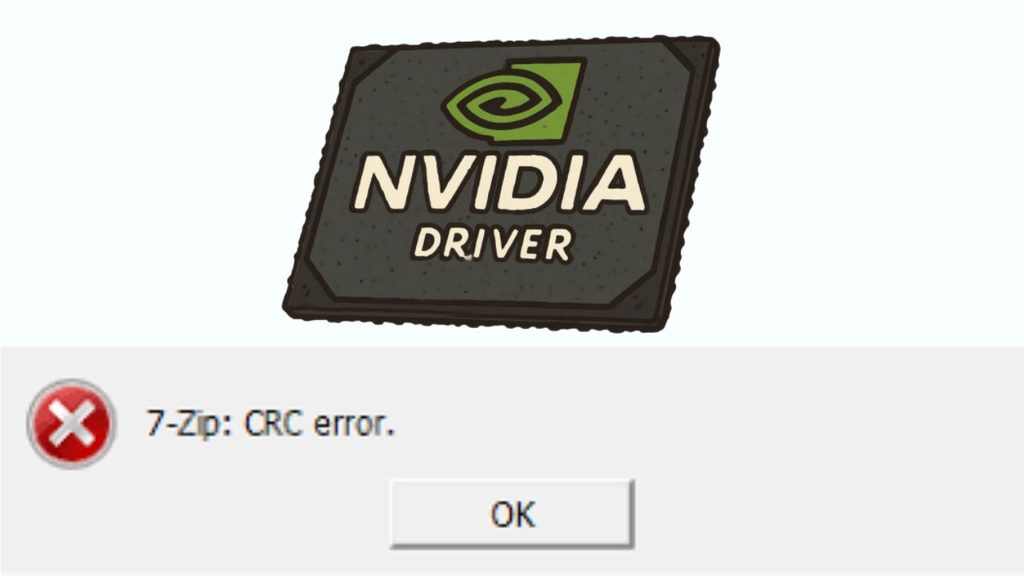
To fix a 7-Zip CRC error when installing NVIDIA drivers, delete the damaged installer, download a fresh copy from NVIDIA’s official website, check your storage space, and extract the driver package again. If the error continues, investigate antivirus interference, system file corruption, and memory or disk problems.
Start with the first method and work your way through the guide.
1: Delete the Damaged NVIDIA Driver Download
The first thing to check is the driver file you downloaded. If the download was interrupted or some data was corrupted during transfer, the installer may fail when it tries to extract the package.
Open File Explorer by pressing Windows + E. Navigate to your Downloads folder and locate the NVIDIA driver installer. Its filename may look similar to 551.86-desktop-win10-win11-64bit-international-dch-whql.exe, although the actual name depends on the driver version and your graphics card.
Delete the downloaded installer if you suspect it is damaged. Then open the Recycle Bin and remove the file from there if you want to reclaim its storage space.
Before downloading another copy, make sure your internet connection is stable. If you’re using Wi-Fi and experiencing frequent disconnections, reconnect to your network or try a wired connection if one is available.
A fresh download can resolve the issue if the original file was incomplete or corrupted. However, if the same error returns with a new download, continue to the next step.
2: Download the Correct NVIDIA Driver Again
Downloading the wrong driver package can cause installation problems, so make sure you select the correct one for your graphics card and Windows version.
Open NVIDIA’s official driver download page and identify your GPU model. You can check the model by right-clicking the Start button, opening Device Manager, and expanding Display adapters.
Write down the name of your NVIDIA graphics card. Then select the matching product family, product series, GPU model, operating system, and driver type on NVIDIA’s download page.
You can also use NVIDIA’s official app to check for compatible driver updates if your system supports it.
Download the driver directly from NVIDIA rather than an unofficial driver website. Allow the download to finish completely before opening the file.
If your browser offers a download status indicator, make sure the download has finished and hasn’t been interrupted. Once the file is ready, right-click it, open Properties, and check its file size if you want to compare it with the information provided by NVIDIA.
Run the installer again. If the CRC error disappears, the original download was likely the problem. If it remains, try the next method.
3: Run the NVIDIA Installer as an Administrator
Sometimes Windows permissions can prevent an installer from accessing files or completing certain operations. Running the NVIDIA installer as an administrator is a simple way to rule out permission-related problems.
Open File Explorer and navigate to the folder containing your downloaded NVIDIA driver. Right-click the .exe file and select Run as administrator.
If the User Account Control window appears, click Yes to allow the installer to make changes to your device.
Follow the installation instructions on the screen. If the installer extracts its files successfully, continue with the driver installation.
Keep in mind that administrator permissions won’t repair a genuinely corrupted archive. If the same 7-Zip CRC error appears, move on to the next step.
4: Extract the NVIDIA Driver Files Again
NVIDIA driver packages typically extract their installation files to a temporary folder before the actual driver installation begins. If extraction fails, the problem may involve damaged files or a conflict with the extraction process.
Run the NVIDIA installer and pay attention to the extraction location displayed on the screen. If you can choose a location, select a simple folder such as C:\NVIDIA-Temp.
Make sure the destination drive has enough free space before continuing. After the files are extracted, the NVIDIA installer may launch automatically.
If you downloaded an archive that is intended to be opened with 7-Zip, you can right-click it and select 7-Zip > Test archive. If the test reports a CRC error, the archive is damaged or its contents cannot be read correctly.
You can also try extracting the archive into a different folder. Avoid repeatedly extracting the same damaged download and expecting a different result. If the archive fails its integrity test, download a fresh copy before trying again.
5: Check Your Antivirus and Windows Security Settings
Security software can sometimes interfere with installers by scanning, quarantining, or blocking files. Although this is not the most common cause of a CRC error, it’s worth checking if the error continues with a fresh download.
Open Windows Security from the Start menu. Select Virus & threat protection, then open Protection history to see whether a file associated with the NVIDIA installer was blocked or quarantined.
If you find an entry, review its details carefully. Only restore or allow a file if you’ve verified that it came from NVIDIA’s official website and is legitimate.
Do not permanently disable your antivirus or create broad exclusions for your Downloads folder. If you use a third-party security program, check its logs for any action involving the installer.
After addressing a confirmed block, try running the installer again. If Windows Security hasn’t blocked anything, leave your security settings unchanged and continue troubleshooting.
6: Check Your Drive for Errors
A CRC error can sometimes occur when files cannot be read reliably from a storage device. If multiple downloads fail their integrity checks, your SSD or hard drive may need attention.
Open File Explorer, select This PC, and locate the drive where you saved the NVIDIA installer. Right-click the drive, select Properties, and open the Tools tab.
Under Error checking, click Check if the option is available. Follow the instructions to scan the drive for file system errors.
You can also run a Windows disk check from an administrator Command Prompt. For example, to scan the C: drive for file system errors, enter:
chkdsk C: /scan
Press Enter and wait for the scan to finish. If Windows reports a problem, follow its recommended repair instructions. Back up important files if you suspect your drive is failing.
If you downloaded the driver to another drive, check that drive as well. Avoid repeatedly downloading large files to a drive that is reporting errors.
7: Repair Windows System Files
If the NVIDIA installer continues to fail even after you’ve downloaded a fresh copy, damaged Windows system files could be contributing to the problem.
Press the Start button and search for Command Prompt. Right-click the result and select Run as administrator.
Enter the following command:
sfc /scannow
Press Enter and wait for Windows to complete the scan. This tool checks protected Windows system files and attempts to repair damaged files.
After the scan finishes, run the following command:
DISM /Online /Cleanup-Image /RestoreHealth
Press Enter and allow the operation to complete. Keep your internet connection active because DISM may need to download repair files.
Restart your computer after the repair process finishes. Downloading another fresh copy of the NVIDIA driver is worthwhile if the previous installer may have been corrupted.
Try the installation again. If the error persists, check whether other compressed files also fail to extract.
8: Check for Memory Problems and Other Extraction Errors
If several unrelated ZIP, 7z, or driver files produce CRC errors, the problem may extend beyond the NVIDIA installer. Unstable memory, storage issues, or repeated download corruption can affect different files.
First, download a small, trusted file from a reliable website and test whether it opens correctly. If only the NVIDIA installer fails, focus on the driver package and its compatibility. If multiple files fail, investigate your system more broadly.
You can run the Windows Memory Diagnostic tool by pressing Windows + R, typing mdsched.exe, and pressing Enter. Save your work, select the option to restart and check for memory problems, and allow the test to run.
If the diagnostic reports memory errors, seek appropriate hardware troubleshooting before continuing with repeated driver installations.
Once you’ve ruled out memory and storage problems, download the correct driver again and retry the installation.
9: Perform a Clean NVIDIA Driver Installation
If the CRC error is resolved but the NVIDIA driver still won’t install properly, a clean installation may help remove settings left over from an earlier driver version.
Run the NVIDIA driver installer and proceed until you reach the installation options. If the installer offers Custom (Advanced), select it.
On the next screen, look for Perform a clean installation. Select this option if it is available, then continue with the installation.
This option resets NVIDIA driver settings and replaces the existing driver components covered by the installation. It is not the same as repairing a corrupted download, so use it only after addressing the CRC error itself.
Your screen may flicker during installation. This is normal when the graphics driver is being replaced. Once the installation finishes, restart your computer if prompted.
Open Device Manager > Display adapters and confirm that your NVIDIA graphics card appears without a warning symbol. You can also open the NVIDIA app or NVIDIA Control Panel to check whether the driver is working normally.
FAQs
1. What does a 7-Zip CRC error mean when installing NVIDIA drivers?
A CRC error means the data being checked does not match the expected checksum. This can indicate a corrupted or incomplete download, an extraction problem, or an issue reading the file.
2. Why does my NVIDIA driver download keep failing?
Repeated failures can result from an unstable internet connection, corrupted downloads, insufficient storage, security software interference, or a problem with the storage device. If different files also fail, investigate the drive and memory.
3. Should I use Display Driver Uninstaller to fix the CRC error?
Not as your first step. Display Driver Uninstaller (DDU) removes existing graphics drivers, but it does not repair a corrupted installer download. Start by downloading a fresh driver from NVIDIA. Consider DDU only if you have a separate driver removal or installation problem and understand how to use it safely.
4. Is it safe to download NVIDIA drivers from third-party websites?
It’s best to download graphics drivers directly from NVIDIA’s official website or use NVIDIA’s official software. Third-party downloads may be outdated, modified, or incompatible with your system.
5. What if the CRC error continues after downloading the driver again?
Check the drive for errors, run Windows system file repair tools, and test your memory if multiple files fail. If the problem affects only one driver package, verify that you selected the correct GPU and Windows version before seeking further help.
Summary
The 7-Zip CRC error when installing NVIDIA drivers usually indicates that a downloaded or extracted file cannot pass its integrity check. Start by deleting the damaged download and obtaining a fresh driver package from NVIDIA’s official website.
If that doesn’t work, run the installer as an administrator, extract the files to a different folder, check Windows Security, and scan your storage drive. You can also repair Windows system files and test your memory if similar errors occur with other downloads.
Once the extraction problem is resolved, install the correct NVIDIA driver and restart your PC if necessary.
Taking these steps should help you identify the cause without making unnecessary changes to Windows or removing your existing graphics driver prematurely.