
Fix the C Drive is Full and Showing Red in Windows 11/10 [Easy Guide]
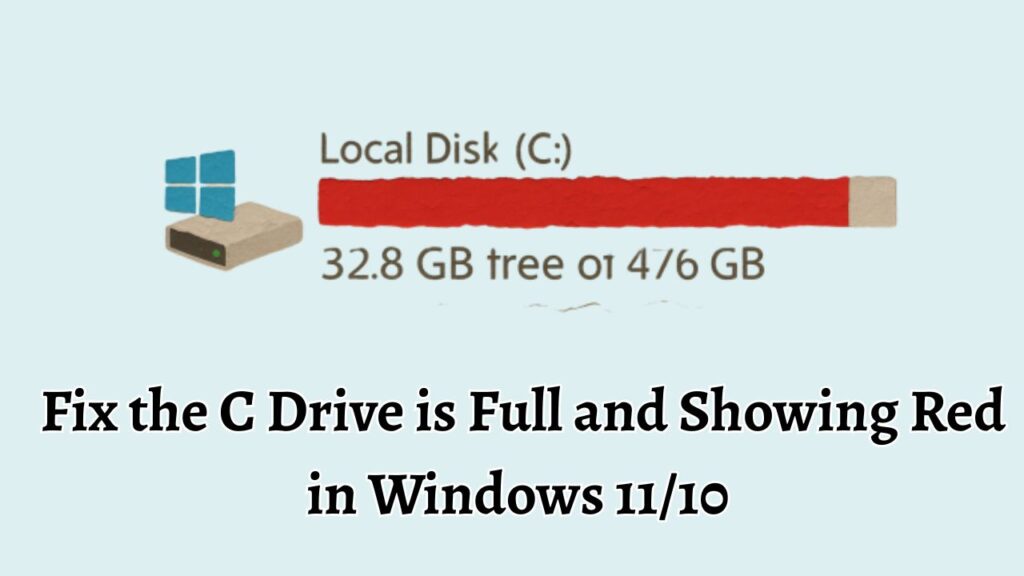
Is your C drive showing red in File Explorer? If yes, Windows is warning you that your system drive is running out of storage space. A red C drive usually indicates that the drive has very little free space left, which can slow down your computer and cause various performance issues.
When the C drive becomes full, Windows may take longer to start, applications may freeze unexpectedly, updates may fail to install, and you might even encounter low disk space notifications regularly. Since the operating system, system files, installed programs, and temporary files are generally stored on the C drive, keeping sufficient free space is essential for smooth performance.
In this guide, you’ll learn several easy steps to fix the C drive is full and ‘showing red’ issue in both Windows 11 and Windows 10.
Fix the C Drive is Full and Showing Red in Windows 11/10
If your C drive is displaying a red bar in File Explorer, it means the drive is running critically low on free storage space. This typically happens because of accumulated temporary files, Windows update files, large downloads, installed applications, duplicate data, or system restore points consuming valuable disk space.
To fix the issue, open Settings > System > Storage and remove unnecessary files using Storage recommendations or Disk Cleanup. You can also uninstall unused programs, delete temporary files, move personal data to another drive, enable Storage Sense, and reduce the space used by System Restore. After freeing enough storage, the red indicator should disappear, and your PC should perform more efficiently.
Step 1: Check What Is Taking Up Space on the C Drive
Before deleting anything, it is important to identify what is consuming storage.
Windows includes a built-in storage analyzer that categorizes files and folders based on how much space they occupy. This helps you understand whether the problem is caused by applications, temporary files, videos, downloads, or system files.
In Windows 11, press Windows + I to open Settings. Navigate to System > Storage.
In Windows 10, open Settings > System > Storage.
Allow Windows a few moments to scan your drive. Once the scan completes, you’ll see categories such as Apps, Temporary Files, Documents, Pictures, Videos, and Other.
Click each category to view more details. You may discover that a large game, old downloads, or unnecessary temporary files are occupying dozens of gigabytes.
This step is important because it prevents you from randomly deleting files and helps you focus on the areas consuming the most storage.
Step 2: Remove Temporary Files
Temporary files are among the most common reasons a C drive becomes full.
These files are created by Windows, applications, web browsers, installers, and software updates. Over time, they accumulate and consume a surprising amount of storage.
Open Settings > System > Storage and select Temporary Files.
Windows will scan and display removable items such as:
- Temporary Internet Files
- Windows Update Cleanup
- Recycle Bin Files
- Delivery Optimization Files
- Temporary System Files
- Downloaded Program Files
Review the available categories carefully. Select the files you want to remove and click Remove Files.
Many users recover several gigabytes instantly using this method alone.
Because temporary files are not usually required for daily operation, removing them is generally safe and can significantly improve available storage.
Step 3: Empty the Recycle Bin
Many people delete files but forget that those files remain stored in the Recycle Bin.
When a file is sent to the Recycle Bin, it continues occupying space on the C drive until it is permanently removed.
Locate the Recycle Bin icon on your desktop and double-click it.
Review its contents to ensure nothing important remains.
Once you confirm that the files are no longer needed, click Empty Recycle Bin from the top menu.
Windows will permanently delete those files and immediately free up the corresponding storage space.
If you frequently work with large videos, images, or downloads, the Recycle Bin alone may contain several gigabytes of data.
Step 4: Run Disk Cleanup
Disk Cleanup is a built-in Windows utility specifically designed to remove unnecessary system files.
Press Windows + S, type Disk Cleanup, and open the utility.
Select the C drive and click OK.
After scanning, Disk Cleanup will display removable file categories.
To free additional space, click Clean Up System Files.
The utility will perform a deeper scan and may identify large collections of:
- Windows Update Files
- Device Driver Packages
- Temporary Installation Files
- System Error Reports
- Previous Windows Installation Files
Select the categories you want to remove and click OK.
This process may take several minutes, especially if Windows update files occupy a large amount of storage.
Step 5: Uninstall Programs You No Longer Use
Many computers contain applications that have not been used in months or even years.
Large games, editing software, development tools, and trial programs can consume significant disk space.
Open Settings > Apps > Installed Apps in Windows 11.
In Windows 10, navigate to Settings > Apps > Apps & Features.
Sort applications by size to quickly identify the largest programs.
Review the list carefully and uninstall software you no longer need.
Be cautious when removing programs. Avoid uninstalling software unless you recognize it and are certain it is unnecessary.
Removing unused applications not only frees storage but can also improve system performance and reduce startup times.
Step 6: Delete Large Files from the Downloads Folder
The Downloads folder is often overlooked, but it frequently becomes one of the largest storage consumers.
Open File Explorer and navigate to the Downloads folder.
Look for:
- Old installers
- ZIP archives
- ISO files
- Video files
- Software packages
- Duplicate downloads
Sort the folder by size to quickly identify the largest files.
Delete anything you no longer need.
Because downloaded files are often forgotten after installation, this step can free a substantial amount of storage space.
Step 7: Move Personal Files to Another Drive
If your computer has multiple drives, consider moving personal files away from the C drive.
Documents, photos, videos, and music collections can consume hundreds of gigabytes over time.
Open File Explorer and identify large folders containing personal data.
Move these files to another internal drive, external hard drive, or cloud storage service.
For users with limited SSD storage, this method can dramatically reduce space usage on the system drive.
Keeping the C drive dedicated primarily to Windows and applications often results in better performance and easier storage management.
Step 8: Enable Storage Sense
Storage Sense is a built-in Windows feature that automatically removes unnecessary files.
Open Settings > System > Storage.
Turn on Storage Sense.
Click the feature to configure its behavior.
You can instruct Windows to automatically:
- Delete temporary files
- Clean the Recycle Bin
- Remove old Downloads files
- Free cloud-synced content when storage becomes low
Once enabled, Storage Sense continuously helps prevent the C drive from filling up again in the future.
This is one of the easiest long-term storage management solutions available in Windows.
Step 9: Reduce System Restore Storage Usage
System Restore protects your computer by creating restore points, but these backups can consume considerable disk space.
Press Windows + S and search for Create a Restore Point.
Open the System Properties window and select the System Protection tab.
Choose the C drive and click Configure.
You’ll see the amount of disk space currently reserved for restore points.
Reduce the maximum storage allocation if it is excessively high.
You can also delete older restore points while keeping the most recent protection available.
This adjustment can instantly recover several gigabytes of space on some systems.
Step 10: Find Hidden Large Files
Sometimes storage is consumed by files that are not immediately visible.
Open Settings > System > Storage and review the Other category.
You can also use File Explorer and sort folders by size to locate unusually large files.
Check folders such as:
- Downloads
- Desktop
- Videos
- Documents
- AppData
- Old backup folders
- Virtual machine files
- Large archives
Removing or relocating these files can provide significant storage relief.
Always verify that a file is no longer needed before deleting it permanently.
Step 11: Remove Previous Windows Installation Files
If you recently upgraded Windows, the system may keep a copy of the previous installation.
This folder is typically named Windows.old and can occupy many gigabytes.
Run Disk Cleanup as Administrator.
Select Clean Up System Files.
Look for Previous Windows Installation(s) in the list.
Select the option and remove it if you are certain you do not need to roll back to the earlier Windows version.
Many users recover 10 GB to 30 GB or more using this method.
Step 12: Extend the C Drive Partition
If the C drive remains nearly full despite cleanup efforts, you may need to increase its size.
This solution is particularly useful when another partition contains unused free space.
Open Disk Management by right-clicking the Start button and selecting Disk Management.
If unallocated space exists adjacent to the C drive, you may be able to extend the partition using the built-in wizard.
Follow the on-screen instructions carefully.
Increasing the partition size gives the C drive additional storage capacity and can permanently resolve low space issues.
FAQs
Why is my C drive red in Windows?
A red C drive indicates that the drive is running critically low on free storage space. Windows uses this visual warning to alert users that disk capacity is nearly exhausted.
How much free space should remain on the C drive?
It is generally recommended to keep at least 10% to 20% of the drive free. This helps Windows perform updates, create temporary files, and maintain overall system responsiveness.
Is it safe to delete temporary files?
Yes. Temporary files are usually safe to remove because they are created for short-term use by Windows and applications.
Can a full C drive slow down my computer?
Yes. When storage becomes extremely limited, Windows has less room for virtual memory, updates, caching, and temporary files, which can negatively impact performance.
What is Storage Sense?
Storage Sense is a Windows feature that automatically removes temporary files and other unnecessary data to help maintain free storage space.
Should I move files to another drive?
If another drive has available storage, moving large personal files such as videos, photos, and archives is an excellent way to free space on the C drive.
Will uninstalling programs delete my personal files?
Most applications remove only their own program files. However, it is always wise to back up important data before uninstalling software.
Summary
A full C drive can cause slow performance, failed updates, and constant low storage warnings in Windows 11 and Windows 10. Fortunately, the problem is usually easy to fix without purchasing new hardware.
Start by checking what is consuming storage through the Windows Storage settings. Remove temporary files, empty the Recycle Bin, run Disk Cleanup, uninstall unused applications, and delete unnecessary downloads. You can also move personal files to another drive, enable Storage Sense, reduce System Restore storage usage, and remove old Windows installation files.
By following these steps, you can reclaim valuable disk space, eliminate the red warning on the C drive, and keep your Windows PC running smoothly for the long term.