
Fix Windows Error 0x80073712: Some Update Files Are Missing or Have Problems
Windows Update is an important part of keeping your computer secure, stable, and up to date. Microsoft regularly releases updates to fix security vulnerabilities, improve system performance, introduce new features, and resolve existing problems. However, sometimes Windows cannot install an update because certain files are missing, damaged, or corrupted.
One common issue you may encounter is Windows Update Error 0x80073712, accompanied by the message, “Some update files are missing or have problems. We’ll try to download the update again later.”
This error can appear when you try to download or install a cumulative update, security update, or feature update through Windows Update. In many cases, the problem is related to corrupted Windows component store files, damaged system files, or incomplete update downloads.
You can try several troubleshooting methods, including running the Windows Update Troubleshooter, repairing system files with DISM and SFC, clearing the Windows Update cache, and resetting update components.
In this guide, I’ll walk you through these solutions step by step.
Fix Windows Error 0x80073712: Some Update Files Are Missing or Have Problems
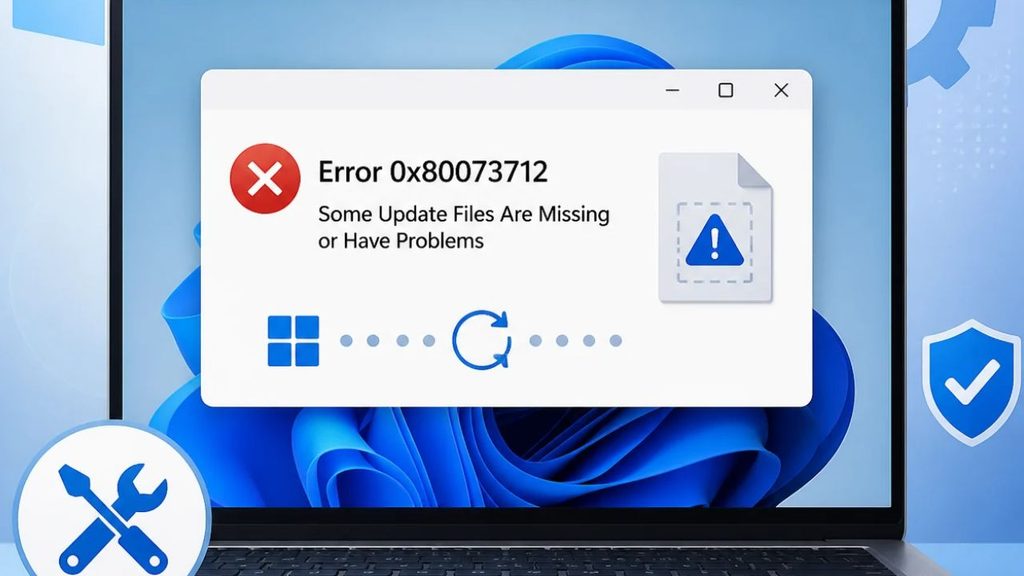
To fix Windows Update Error 0x80073712, run the Windows Update Troubleshooter, repair corrupted system files using DISM and SFC commands, clear the Windows Update download cache, and reset Windows Update components. Restart your computer after applying these fixes and check for updates again.
Before trying the advanced solutions, restart your computer and make sure you have a stable internet connection.
If the error continues, follow the methods below in order.
1: Run the Windows Update Troubleshooter
The first thing you should try is the Windows Update Troubleshooter. It’s a diagnostic tool that checks common update-related problems and attempts to fix them automatically.
For example, it can identify issues with Windows Update services, incorrect settings, and other common configuration problems.
Here’s how to run it.
For Windows 11:
- Press Windows + I to open Settings.
- Select System from the left sidebar.
- Scroll down and click Troubleshoot.
- Select Other troubleshooters.
- Find Windows Update and click Run.
- Wait while Windows checks for update-related problems.
- Follow the on-screen instructions if Windows recommends a fix.
For Windows 10:
- Open Settings using Windows + I.
- Navigate to Update & Security.
- Select Troubleshoot.
- Click Additional troubleshooters.
- Select Windows Update.
- Click Run the troubleshooter.
Once the troubleshooting process finishes, restart your computer and check Windows Update again.
If the troubleshooter doesn’t identify or resolve the issue, move to the next solution.
2: Repair Corrupted System Files Using SFC
Damaged or missing Windows system files are one possible reason behind error 0x80073712.
Windows includes a command-line utility called System File Checker (SFC) that scans protected system files and replaces corrupted versions with cached copies when available.
Follow these instructions to run it.
- Click the Start button.
- Type Command Prompt in the search box.
- Right-click Command Prompt and select Run as administrator.
- Click Yes if the User Account Control window appears.
- Enter the following command:
sfc /scannow
- Press Enter to start the scan.
- Wait until Windows completes the verification process.
The scan may take several minutes, depending on your computer’s condition.
After completion, Windows will display a message explaining whether it found corrupted files and whether it repaired them.
If SFC reports that it couldn’t fix some files, don’t worry. The next step uses DISM to repair the Windows component store, which can provide the files needed for system repairs.
3: Repair the Windows Component Store Using DISM
If SFC cannot repair all corrupted files, you should use the Deployment Image Servicing and Management (DISM) tool.
DISM is a Windows command-line utility that checks and repairs the Windows component store. This store contains important files required to maintain and update your operating system.
Since error 0x80073712 is associated with component store corruption, this method is particularly important.
Follow these steps.
- Open the Start menu.
- Type CMD in the search box.
- Right-click Command Prompt and select Run as administrator.
- Type the following command:
DISM.exe /Online /Cleanup-Image /RestoreHealth
5. Press Enter and allow Windows to complete the repair process.
The scan may take some time. Don’t close Command Prompt, even if the progress percentage appears stuck temporarily.
Once completed, you should see a message saying The restore operation completed successfully.
Now restart your computer. You can also run sfc /scannow again to check whether the repaired component store allows SFC to fix any remaining system file problems.
After that, check Windows Update again.
Important: DISM may download replacement files through Windows Update, so make sure your computer has a working internet connection.
4: Clear the Windows Update Cache
Sometimes, Windows downloads incomplete or corrupted update files and stores them in its update cache. When Windows tries to use those files again, the installation may fail.
Clearing the cache forces Windows to download fresh update files.
Here’s how to do it safely.
- Press Windows + R to open the Run dialog box.
- Type services.msc and press Enter.
- Find Windows Update in the Services window.
- Right-click it and select Stop.
- Also stop the Background Intelligent Transfer Service (BITS).
- Open File Explorer and navigate to:
C:\Windows\SoftwareDistribution
- Open the folder and select all its contents using Ctrl + A.
- Press Delete to remove the selected files.
If Windows refuses to delete certain files, make sure the update services are stopped. You can skip files that remain in use.
- Return to the Services window.
- Right-click Windows Update and select Start.
- Start the BITS service as well.
Restart your computer and navigate to Settings > Windows Update.
Click Check for updates and allow Windows to download fresh update files.
Clearing this cache does not delete your personal documents, photos, or installed applications. Windows will recreate the necessary update folders automatically.
5: Reset Windows Update Components
If clearing the update cache doesn’t work, try resetting the Windows Update components.
This process resets several services and folders responsible for downloading, verifying, and installing Windows updates.
- Open Command Prompt as administrator.
- Enter the following commands one at a time, pressing Enter after each command.
Stop the Windows Update services:
net stop wuauserv
net stop bits
net stop cryptsvc
net stop msiserver
Rename the update folders:
ren C:\Windows\SoftwareDistribution SoftwareDistribution.old
ren C:\Windows\System32\catroot2 catroot2.old
Restart the services:
net start msiserver
net start cryptsvc
net start bits
net start wuauserv
- Close Command Prompt after all commands have been processed.
- Restart your computer.
Windows will create fresh update folders when needed.
If you receive an error saying that a service cannot be stopped or a folder cannot be renamed, check whether another update process is running before trying again.
6: Check Your Internet Connection and Available Storage
Windows needs a stable internet connection and sufficient storage space to download and install updates.
If your connection keeps dropping or your system drive is almost full, Windows Update may fail to download or process the required files.
To check your available storage, open Settings > System > Storage in Windows 11.
In Windows 10, navigate to Settings > System > Storage.
Check how much free space is available on your Windows installation drive, usually C:.
If you’re running low on storage, remove unnecessary temporary files using Windows Storage settings.
Also, temporarily disconnect any VPN connection and check whether your internet connection is stable.
Once everything is ready, restart your computer and try installing the update again.
7: Manually Download and Install the Problematic Update
If Windows Update continues showing error 0x80073712, you can try downloading the problematic update manually.
Microsoft provides an online catalog where you can find and download individual Windows updates.
- Open your browser and visit the Microsoft Update Catalog.
- Open Settings > Windows Update > Update history.
- Find the update that failed to install.
- Note its KB number, such as KB503xxxx.
- Enter that KB number in the Microsoft Update Catalog search box.
- Find the update that matches your Windows version and system architecture.
- Click Download beside the correct update.
- Open the downloaded file and follow the installation instructions.
Make sure you select the correct version for your computer, such as x64 or ARM64.
After installation, restart your computer and check whether the update was successfully installed.
8: Perform an In-Place Repair of Windows
If none of the previous methods works, your Windows installation may have deeper component corruption.
In this situation, consider performing an in-place repair installation.
This process reinstalls Windows using compatible installation media while giving you the option to keep your personal files and installed applications.
First, download the appropriate Windows installation media from Microsoft’s official website.
For Windows 11, visit Windows 11 Download.
For Windows 10, visit Windows 10 Download.
Run the Windows setup program from within your existing Windows installation. Follow the instructions and select Keep personal files and apps when that option is available.
Before proceeding, back up your important files and confirm that the selected option will preserve your applications and data.
This should be your last troubleshooting option because it takes longer than the other methods.
FAQs
1. What does Windows Update Error 0x80073712 mean?
Error 0x80073712 indicates that Windows has encountered missing or corrupted component files. It can prevent Windows from downloading, processing, or installing updates successfully.
2. Can I fix error 0x80073712 without reinstalling Windows?
Yes. In many cases, running DISM and SFC, clearing the Windows Update cache, and resetting update components can resolve this error without reinstalling Windows.
3. Is it safe to delete the SoftwareDistribution folder?
Yes. It is generally safe to clear the contents of this folder after stopping the Windows Update service. Windows automatically recreates the necessary files when you check for updates again.
4. Does error 0x80073712 mean my Windows installation is corrupted?
Not necessarily. It usually indicates a problem with the Windows component store or update files. Your entire Windows installation doesn’t have to be damaged.
5. Why does Windows Update keep failing after restarting my PC?
Restarting alone may not fix corrupted update files or component store problems. You may need to run DISM, SFC, or reset Windows Update components to resolve the underlying issue.
Summary
Windows Update Error 0x80073712: Some update files are missing or have problems can be frustrating, especially when you need to install important security updates.
However, you don’t need to jump straight into reinstalling Windows.
Start with the Windows Update Troubleshooter, run SFC and DISM scans, and clear the Windows Update cache. If the problem continues, reset the update components or manually download the problematic update through Microsoft’s Update Catalog.
In most cases, these troubleshooting methods provide a practical way to repair Windows Update without losing your personal files or installed applications.
If you’re still experiencing this error after trying these solutions, an in-place repair installation is worth considering.