
How to Play a CD on a Desktop Computer [Complete Guide]
Although streaming services and digital music have become the most common ways to listen to songs, many people still own audio CDs, music albums, audiobooks, and data CDs. If you have a desktop computer with a CD or DVD drive, you can easily enjoy your favorite discs without needing a separate CD player.
Many first-time users assume that playing a CD is as simple as inserting it into the computer. While that is often true, some desktop computers may require you to open a media player manually or adjust a few settings before playback begins.
The exact process also depends on whether you are using an audio CD or a data CD containing music files such as MP3 or WAV.
In this guide, I have explained everything you need to know about playing a CD on a desktop computer, whether you use Windows 11 or Windows 10.
How to Play a CD on a Desktop Computer
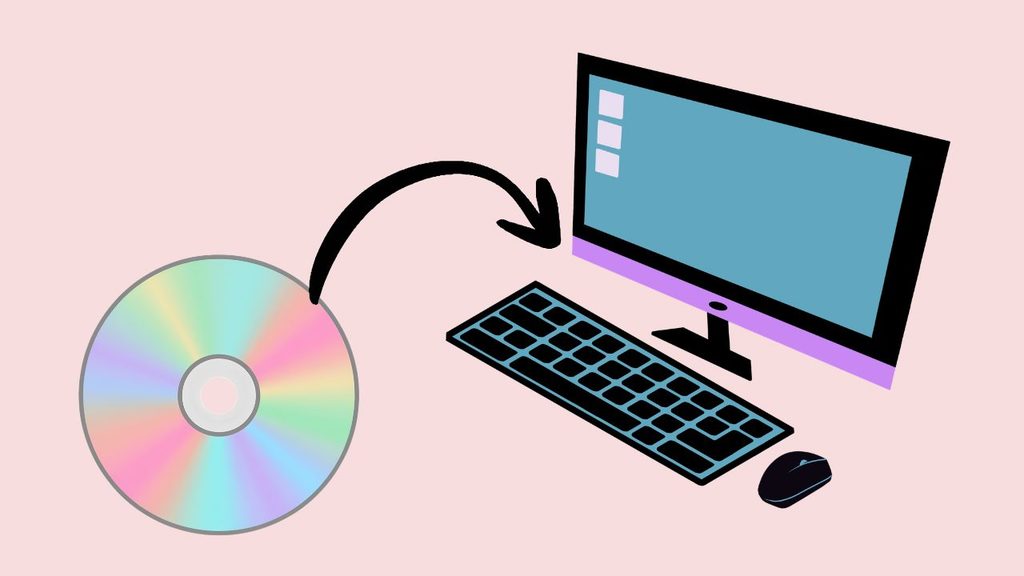
Playing a CD on your desktop computer is simple once you understand the basic process. First, make sure your computer includes a working CD/DVD drive. Insert the CD with the label facing upward, wait for Windows to recognize it, and then open a compatible media player if playback does not begin automatically.
After the CD loads, you can play, pause, skip tracks, adjust the volume, and enjoy your music or other content.
If your desktop computer does not include an internal disc drive, you can connect an external USB CD/DVD drive.
Windows usually detects these devices automatically, allowing you to play CDs just like you would with a built-in drive.
Step 1: Check Whether Your Desktop Computer Has a CD or DVD Drive
Before you try to play a CD, confirm that your desktop computer actually has a CD/DVD drive. Many older desktop computers include one, but some newer models no longer have optical drives because software and media are now commonly downloaded from the internet.
Look at the front of your desktop tower. A CD or DVD drive is usually a thin rectangular tray with a small Eject button. Some drives also include a tiny emergency eject hole and display labels such as DVD RW, DVD Multi Recorder, or CD RW.
If you do not see a drive on the front of the computer, open File Explorer by pressing Windows + E. Select This PC from the left panel and look under Devices and drives. If you see a drive listed as DVD Drive, your computer has an optical drive that can read CDs.
If your computer does not have one, you can purchase an external USB CD/DVD drive. Simply connect it to a USB port, and Windows should install the required drivers automatically.
Step 2: Make Sure the CD Is Clean and in Good Condition
Before inserting the CD, inspect it carefully. A dirty or scratched disc may not play correctly, even if your computer is working perfectly.
Hold the CD by its outer edge or the center hole to avoid fingerprints on the shiny recording surface. Check for dust, smudges, fingerprints, or scratches.
If necessary, gently wipe the disc with a soft microfiber cloth. Always wipe from the center toward the outer edge instead of moving in circles. This cleaning method reduces the chance of causing additional scratches.
If the CD is badly damaged, your computer may struggle to read it or may not recognize it at all.
Step 3: Insert the CD into the Disc Drive
Locate the Eject button on the front of the CD/DVD drive and press it once. The disc tray should slide out smoothly.
Place the CD on the tray with the printed label facing upward. Make sure the disc sits flat inside the circular holder. Avoid forcing the disc into place.
Gently push the tray closed or press the Eject button again if your drive supports automatic closing. Your computer will begin reading the CD immediately after the tray closes.
During this process, you may hear the drive spinning. This is completely normal as Windows detects the contents of the disc.
Step 4: Wait for Windows to Detect the CD
Once the CD is inserted, give Windows several seconds to recognize it.
If AutoPlay is enabled, a notification may appear asking what you would like to do with the disc. For an audio CD, you may see options to play it using Windows Media Player or another installed media player.
If no notification appears, do not worry. Windows may simply have AutoPlay disabled, and you can open the CD manually in the next step.
Avoid pressing the Eject button while Windows is reading the disc, as interrupting the process may prevent proper detection.
Step 5: Open a Media Player
If playback does not begin automatically, you will need to launch a media player yourself.
Click the Start button and search for Windows Media Player if it is installed on your computer. Open the application and wait for it to load.
If Windows Media Player is unavailable, you can use another compatible application such as Media Player, VLC Media Player, or another music player installed on your computer.
Most media players automatically detect an inserted audio CD and display its tracks in the playback window.
Step 6: Select the CD and Start Playing
Inside your media player, locate the CD in the navigation panel. It usually appears under the drive name or as Audio CD.
Click the CD to display the available tracks. You can either play the entire album or select an individual track.
Press the Play button to begin listening.
During playback, you can use the controls to pause, stop, skip to the next song, return to a previous track, or adjust the playback volume.
Many media players also display album information and song titles if an internet connection is available.
Step 7: Adjust Audio Settings for Better Sound
If the music is too quiet or too loud, adjust your computer’s volume settings.
Click the speaker icon in the Windows taskbar and move the volume slider to a comfortable level.
If you use external speakers or headphones, ensure they are properly connected and turned on. Also verify that the correct audio output device is selected in Windows.
If you hear no sound, test another audio source, such as an online video, to confirm that your speakers or headphones are functioning correctly.
Step 8: Safely Remove the CD After Listening
When you finish listening, stop playback in your media player.
Close the application if desired, then press the Eject button on the CD/DVD drive.
Wait for the tray to open completely before removing the disc.
Hold the CD by its edges and return it to its protective case. Proper storage helps prevent scratches, dust buildup, and accidental damage, allowing the CD to remain playable for many years.
FAQs
Can I play a CD on Windows 11?
Yes. Windows 11 supports audio CDs if your computer has a compatible CD/DVD drive and a media player capable of reading audio discs.
Why does my desktop computer not have a CD drive?
Many modern desktop computers are designed without optical drives because software, movies, games, and music are now commonly downloaded or streamed online. If needed, you can use an external USB CD/DVD drive.
What should I do if the CD does not play automatically?
Open a compatible media player manually and select your CD from the list of available drives. You can also check your AutoPlay settings if you want Windows to launch a media player automatically in the future.
Can I play DVDs using the same drive?
Most DVD drives can also read CDs. However, watching DVD movies may require compatible DVD playback software because not every media player supports DVD video playback by default.
Why is my CD not recognized?
The CD may be scratched, dirty, or damaged. The optical drive could also be dirty or malfunctioning. Try another CD to determine whether the problem is with the disc or the drive.
Can I copy songs from a CD to my computer?
Yes. Many media players include a Rip CD feature that lets you save music from an audio CD to your computer in formats such as MP3 or WMA, making it easier to listen without inserting the disc each time.
Will an external USB CD drive work the same way?
Yes. After connecting an external USB optical drive, Windows normally installs the required drivers automatically. You can then insert and play CDs just as you would with an internal drive.
Summary
Learning how to play a CD on a desktop computer is straightforward once you understand the basic steps. Begin by confirming that your computer has a working CD/DVD drive, inspect the disc for damage, insert it correctly, and allow Windows to recognize it.
If playback does not start automatically, open a compatible media player, select the CD, and begin listening.
Whether you are enjoying an old music collection, listening to an audiobook, or accessing files stored on a disc, desktop computers still provide reliable support for CDs.