
How to Shrink Icon Size on Desktop in Windows 11 and Windows 10
Are your desktop icons too big, making your Windows screen look crowded? Or maybe you want to fit more shortcuts, folders, and files on your desktop without constantly scrolling or rearranging everything. Whatever the reason, you can shrink desktop icon size in Windows 11 and Windows 10 in just a few seconds.
Windows gives you a couple of easy ways to change desktop icon sizes. You can use the right-click menu, adjust the size with your mouse wheel, or fine-tune your display settings if everything on your screen looks too large.
In this guide, you’ll learn how to make desktop icons smaller, what to do if the options aren’t working, and how to fix related display issues.
How to Shrink Icon Size on Desktop
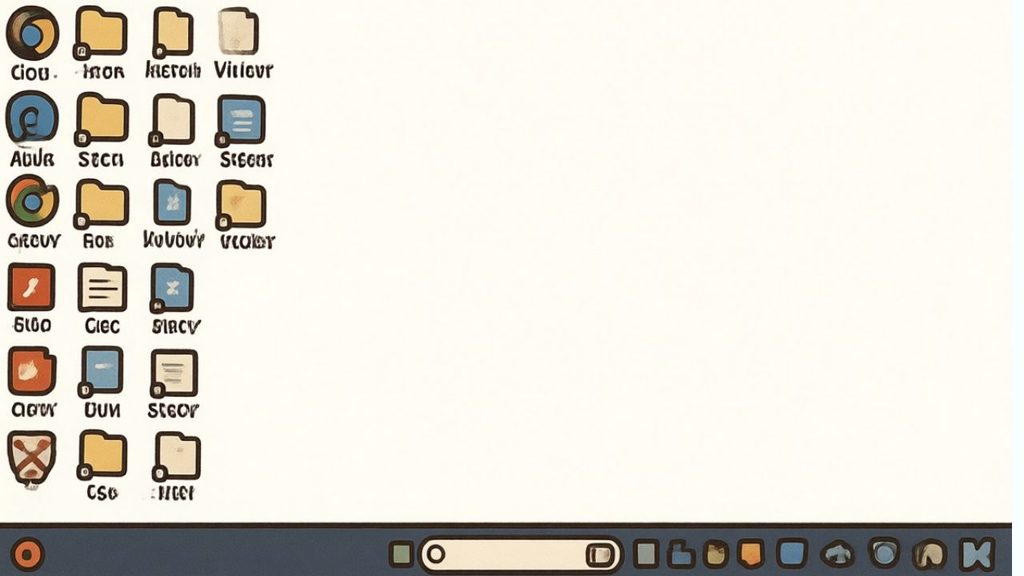
To shrink desktop icons in Windows 11 or Windows 10, right-click an empty area of your desktop, select View, and choose Small icons. You can also hold down the Ctrl key and scroll your mouse wheel down while your pointer is over the desktop to adjust icon size more precisely.
Let’s walk through each option step by step.
Step 1: Use the Desktop Right-Click Menu
The easiest way to shrink desktop icons is through the desktop’s context menu. This method works on both Windows 11 and Windows 10 and doesn’t require changing any advanced settings.
First, minimize any open windows so you can see your desktop. You can press Windows + D to do this quickly.
Next, move your mouse pointer to an empty area of the desktop. Make sure you’re not clicking directly on a file, folder, shortcut, or the taskbar.
Right-click the empty area to open the desktop menu.
In Windows 11, select View from the menu. A submenu will appear with three options: Large icons, Medium icons, and Small icons.
In Windows 10, right-click the desktop and move your pointer over View to see the same icon-size options.
Select Small icons. Your desktop icons should immediately become smaller, giving you more room for files and shortcuts.
If the icons look too small after making this change, repeat the same process and select Medium icons. You can switch between the available sizes whenever you like.
Step 2: Shrink Desktop Icons Using Your Mouse Wheel
Want more control over your desktop icon size? You can use your mouse wheel to adjust the size without opening the View menu.
Start by going to your desktop. Press Windows + D if you have several windows open.
Now, click an empty area of the desktop to make sure Windows is focused on it.
Press and hold the Ctrl key on your keyboard. While holding it down, scroll your mouse wheel downward to make the icons smaller.
Keep scrolling down until the icons reach a size that looks comfortable to you. If you scroll too far and the icons become too small, hold Ctrl and scroll upward to increase their size.
This method is particularly useful if you want something between the standard Small and Medium icon sizes.
One important thing to remember is that the mouse pointer should be over the desktop when you use this shortcut. If you’re working inside File Explorer or another application, the mouse wheel may change something else instead.
If you’re using a laptop without a physical mouse, the right-click menu in Step 1 is usually the simplest option.
Step 3: Adjust Display Scaling in Windows Settings
Sometimes desktop icons aren’t the only things that look too large. You might also notice oversized text, large application windows, or menus that take up too much space.
If that’s happening, your display scaling settings may be responsible.
Display scaling controls the size of text, apps, and other interface elements on your screen. Reducing it can make the overall Windows interface appear smaller, although it affects much more than desktop icons.
To check your scaling settings, press Windows + I to open Settings.
In Windows 11, select System > Display. Under the Scale and layout section, look for the Scale setting.
In Windows 10, open Settings > System > Display and find the Scale and layout section.
Windows will usually recommend a scaling percentage based on your display. Depending on your monitor, you might see options such as 100%, 125%, or 150%.
If the current setting makes everything look too large, you can try a lower supported percentage, such as 100%, if available.
However, don’t change the scaling setting just to shrink desktop icons if the rest of your screen already looks right. Start with the Desktop View menu or mouse-wheel method instead.
After changing scaling, some applications may need to be closed and reopened before they display correctly. If the text becomes too small to read comfortably, return to the previous recommended setting.
Step 4: Change Your Screen Resolution if Necessary
Your screen resolution can also affect how much space is available on your desktop. A lower-than-native resolution can make content appear larger or less sharp, depending on your monitor and scaling settings.
To check your resolution, press Windows + I and open Settings > System > Display.
Find the Display resolution option under Scale and layout. Select the resolution marked Recommended, if available.
For example, a compatible monitor might recommend 1920 × 1080 or another resolution that matches its native display capabilities.
Choose the recommended option and confirm the change if Windows asks you to do so. If the screen looks correct, keep the setting. If the display becomes distorted or uncomfortable to use, revert to the previous setting before the confirmation timer expires.
Keep in mind that changing resolution is not the best way to shrink desktop icons alone. It can affect image sharpness, the size of other interface elements, and the amount of visible workspace.
For most people, choosing Small icons from the desktop menu is all that’s needed.
Step 5: Arrange Your Smaller Desktop Icons
Once you’ve reduced the icon size, you may want to organize the desktop so everything looks neat and easy to find.
Right-click an empty area of the desktop and select View.
If you want Windows to organize the icons automatically, select Auto arrange icons. Windows will arrange them in an orderly layout, although you may lose control over their exact positions.
You can also select Align icons to grid to help keep icons lined up while you move them around manually.
If you prefer to arrange everything yourself, make sure Auto arrange icons is turned off. Then drag each shortcut, folder, or file to your preferred location.
You can also select Sort by from the desktop context menu to organize icons by name, item type, date modified, or other available criteria.
These options don’t directly shrink icons, but they make the desktop easier to manage after you’ve changed their size.
Fix Desktop Icons That Won’t Become Smaller
If your desktop icons don’t change size after selecting Small icons, try the following troubleshooting approach.
First, make sure you’re opening the desktop’s right-click menu rather than a menu inside File Explorer. The desktop menu has a View option that controls desktop icon size.
Next, press Windows + D to return to the desktop and repeat Step 1.
If the change still doesn’t appear, restart Windows Explorer. Press Ctrl + Shift + Esc to open Task Manager. Find Windows Explorer in the list of running processes, select it, and click Restart if that option is available.
Your taskbar and desktop may disappear briefly while Explorer restarts. This is normal. Wait for them to return, then check your desktop icons again.
If the problem continues, save your work and restart your computer.
You should also check whether display scaling or a recently installed display driver has changed how items appear on your screen. If the issue started immediately after a driver update, check your computer or graphics manufacturer’s official support website for the appropriate driver.
Avoid downloading unknown desktop customization tools just to change icon size. Windows already provides the necessary controls for most users.
FAQs
1. How do I make desktop icons smaller in Windows 11?
Right-click an empty area of the desktop, select View, and choose Small icons. You can also hold Ctrl and scroll your mouse wheel downward while the pointer is over the desktop.
2. Can I make desktop icons smaller than the Small option?
Yes. Hold down Ctrl while scrolling your mouse wheel downward over the desktop. This lets you adjust icon size beyond the standard options, although the available sizes depend on the system’s desktop behavior.
3. Why are my desktop icons suddenly so big?
You may have accidentally changed the icon size using the desktop View menu or the Ctrl and mouse-wheel shortcut. Display scaling or resolution changes can also affect how large items appear.
4. Will shrinking desktop icons delete my files or shortcuts?
No. Changing icon size only changes how desktop items appear. It doesn’t delete your files, folders, or shortcuts.
5. How can I restore the original desktop icon size?
Right-click an empty area of the desktop, select View, and choose Medium icons. If you previously used the mouse-wheel method, hold Ctrl and scroll upward until the icons look right.
6. Does changing desktop icon size affect File Explorer icons?
No. Changing the desktop icon size normally affects icons on the desktop, not the icon or thumbnail view inside File Explorer. To change those, open a folder and use its View options.