
How to Uninstall Visual Studio Code (VS Code) Completely on Windows 11/10
Visual Studio Code, commonly called VS Code, is a popular code editor for Windows 11 and Windows 10. Removing the application itself is usually straightforward, but a normal uninstall may leave behind settings, extensions, cached files, user data, and configuration folders on your computer.
This can become important if you want to reinstall VS Code from scratch, troubleshoot persistent problems, free up storage space, or remove all traces of your previous configuration.
In this guide, you will learn how to uninstall VS Code completely from Windows 11/10, including the main application and leftover user files.
How to Uninstall Visual Studio Code (VS Code) Completely on Windows 11/10
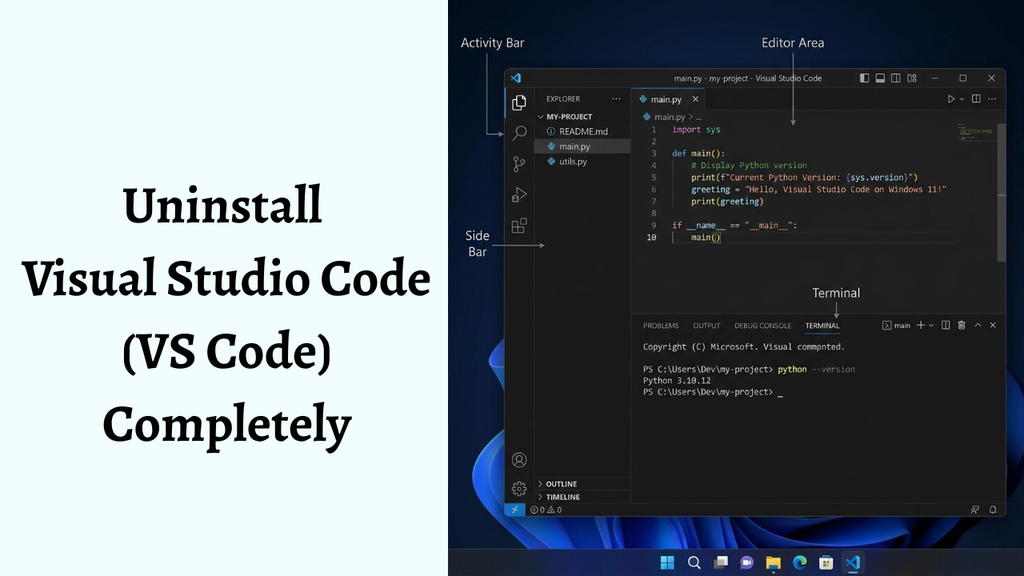
To uninstall Visual Studio Code completely on Windows 11/10, open Settings > Apps > Installed apps, find Visual Studio Code, select the three-dot menu, and choose Uninstall. After the uninstall finishes, open File Explorer and remove remaining VS Code folders from locations such as %AppData% and %LocalAppData%. Also check the VS Code installation folder and restart Windows. Be careful not to delete unrelated folders because these locations contain data belonging to many other applications.
Let’s explore the steps in detail!
1: Close Visual Studio Code and Related Processes
Before uninstalling VS Code, make sure the application is completely closed. If VS Code or one of its background processes is still running, Windows may prevent certain files from being removed.
Look at the taskbar and close any open VS Code windows. If you have several VS Code windows open, make sure all of them are closed.
For additional confirmation, press Ctrl + Shift + Esc to open Task Manager. If Task Manager opens in its simplified view, select More details. Look through the list of running processes for Visual Studio Code, Code.exe, or a similar VS Code process.
If you find one, select it and choose End task. Do not end unrelated Windows processes simply because their names look unfamiliar.
Once VS Code is no longer running, close Task Manager.
2: Uninstall VS Code From Windows 11 Settings
The easiest way to remove VS Code from Windows 11 is through the Settings app.
Press Windows + I to open Settings. Select Apps from the left side and then choose Installed apps.
You will see a list of applications installed on your computer. Use the search box near the top and type Visual Studio Code.
When Visual Studio Code appears, select the three-dot menu next to it. Click Uninstall and confirm the action if Windows asks you to do so.
Windows will launch the VS Code uninstaller. Follow the instructions displayed on the screen.
If you see an option related to removing user data during the uninstall process, pay attention to it. If your goal is a completely clean removal and you no longer need your VS Code configuration, select the appropriate option when available.
Wait until the uninstallation process finishes.
3: Uninstall VS Code From Windows 10 or Control Panel
Windows 10 users can also remove VS Code through the traditional Control Panel.
Open the Start menu and type Control Panel. Select it from the search results.
Choose Programs and then select Programs and Features. You will see a list of installed desktop applications.
Find Microsoft Visual Studio Code or Visual Studio Code in the list. Select it and click Uninstall at the top of the window.
Follow the instructions provided by the VS Code uninstaller.
You generally do not need to uninstall VS Code through both Settings and Control Panel. Use only one uninstall method. The Control Panel method is mainly useful when you are using Windows 10 or when the application does not appear correctly under Windows Settings.
4: Check Whether the VS Code Installation Folder Remains
After uninstalling the application, check whether its main installation folder still exists.
Open File Explorer by pressing Windows + E. Depending on how VS Code was installed, its files may have been placed in a location under your user profile or in the Windows program directories.
A common user installation location is:
%LocalAppData%\Programs\Microsoft VS Code
You can copy that path, paste it into the File Explorer address bar, and press Enter.
If the folder exists and VS Code has already been uninstalled, you can remove the remaining Microsoft VS Code folder.
If Windows says that a file or folder is currently being used, make sure VS Code is completely closed and try again. If you are uncertain about a particular folder, do not delete it simply because its name contains “Code.”
5: Remove VS Code User Data From AppData
The next important location is your Windows AppData folder. This is where applications commonly store settings, extensions, caches, and other user-specific information.
Press Windows + R to open the Run dialog. Type:
%AppData%
Press Enter.
File Explorer will open your Roaming folder. Look for a folder named Code.
If you are sure that VS Code has been uninstalled and you want to remove its settings and user data completely, right-click the Code folder and select Delete.
This folder can contain your VS Code preferences and other configuration information. Therefore, deleting it means that those settings will not be available if you later reinstall VS Code.
If you plan to reinstall VS Code and want to preserve your extensions or settings, do not delete this folder yet.
6: Remove VS Code Data From LocalAppData
VS Code can also store additional information in the LocalAppData folder.
Press Windows + R again. Type:
%LocalAppData%
Press Enter.
Look for folders associated with VS Code. Depending on the installation and version, you may see a Programs folder containing the VS Code installation or other VS Code-related data.
You can also check:
%LocalAppData%\Programs
If you find a Microsoft VS Code folder left after the uninstall, and you no longer want VS Code installed, you can delete that folder.
Be careful here because LocalAppData contains data for many Windows applications. Delete only folders that clearly belong to VS Code.
7: Remove VS Code Extensions If They Are Still Present
VS Code extensions can remain separately from the main application. If your goal is a genuinely fresh installation, checking the extensions directory is worthwhile.
Press Windows + R, enter:
%USERPROFILE%\.vscode
and press Enter.
If the folder exists, it may contain your installed VS Code extensions.
If you want to remove everything associated with your previous VS Code installation, you can delete the .vscode folder after confirming that you no longer need its contents.
However, do not delete this folder simply for the sake of deleting every hidden folder on your computer. If you have another development tool or project using a .vscode folder inside a particular project directory, that project-specific folder is separate and should not be removed.
8: Check for VS Code Shortcuts and Start Menu Entries
Once the application and its data have been removed, check your Start menu and desktop.
Open Start and search for Visual Studio Code.
If Windows still displays a shortcut, right-click it and check whether an uninstall or file-location option appears. An orphaned shortcut does not necessarily mean that the application is still installed.
You can also check your desktop for a VS Code shortcut. If it no longer points to an installed application, you can delete the shortcut.
Deleting a shortcut does not uninstall an application, so this step is mainly about cleaning up leftover entries.
9: Restart Your Windows PC
After removing VS Code and its remaining files, restart your computer.
Click Start, select the Power button, and choose Restart.
Restarting gives Windows an opportunity to release files that may have been temporarily locked by background processes. It also provides a clean starting point if you intend to reinstall VS Code.
After restarting, you can search Windows for Visual Studio Code to confirm that the application is no longer installed.
10: Verify That VS Code Has Been Completely Removed
The final step is to verify the removal.
Open Settings > Apps > Installed apps in Windows 11 and search for Visual Studio Code. In Windows 10, you can check Settings > Apps > Apps & features or Control Panel > Programs and Features.
If VS Code is no longer listed, the main application has been removed.
You can also check the previously mentioned AppData, LocalAppData, and installation locations. If the relevant VS Code folders are gone, you have completed the cleanup.
Remember that Windows does not require you to manually edit the Registry simply to uninstall VS Code. Randomly deleting registry entries can create unnecessary problems, so it is generally better to leave the Registry alone unless you have a specific troubleshooting reason and know exactly what you are changing.
FAQs
Does uninstalling VS Code remove my extensions?
The result depends on how the application was installed and what user-data options you choose during removal. Extensions may remain in your user profile. If you want a completely fresh installation, manually checking the .vscode extension folder can help.
Will uninstalling VS Code delete my coding projects?
No, uninstalling VS Code normally does not delete your personal project files. Your HTML, CSS, JavaScript, Python, Java, C++, or other project files are stored separately from the VS Code application.
However, always keep a backup of important projects before performing major cleanup.
Do I need to delete the AppData folders?
Not always. If you simply want to uninstall VS Code, using the normal Windows uninstall process is generally sufficient. Delete the remaining Code and VS Code-related folders only when you specifically want to remove settings, extensions, caches, and other leftover user data.
Why does VS Code still appear after uninstalling it?
You may be seeing a Start menu shortcut, search result, or leftover folder rather than the actual application. Check Installed apps or Programs and Features to determine whether VS Code is still installed.
Can I reinstall VS Code after completely removing it?
Yes. After removing the application and its user data, you can install VS Code again. Because you removed the previous configuration, the new installation may behave more like a fresh installation.
Is it safe to delete the Code folder from AppData?
If you have already uninstalled VS Code and no longer need its settings, extensions, and other stored user data, deleting the VS Code Code folder is generally part of a clean removal. Make sure you are deleting the correct folder because AppData contains information used by many other applications.
Do I need to restart Windows after uninstalling VS Code?
A restart is not always mandatory, but it is recommended after a complete cleanup. It can help release files or processes that were still active and make it easier to verify that VS Code has been removed.
Summary
Completely uninstalling Visual Studio Code from Windows 11/10 involves more than clicking the Uninstall button if your goal is to remove its leftover configuration and extension data. First, close VS Code and its processes, uninstall the application through Windows Settings or Control Panel, and then check the relevant AppData, LocalAppData, installation, and extension folders.
You should only delete folders that clearly belong to VS Code. Avoid changing unrelated files or manually removing Registry entries without a specific reason.
Once the cleanup is finished, restart Windows and verify that VS Code no longer appears among your installed applications.