
Print Excel Sheets Gridlines with Data or Blank Gridlines
Printing gridlines in Excel requires enabling a specific setting that is turned off by default. This setting ensures that the faint lines you see on your screen are also included in your printed output. The process involves navigating through Excel’s interface and adjusting the correct print options.
Many beginners assume gridlines will automatically print because they are visible on the screen, but Excel treats screen display and print formatting differently. That is why it is important to manually enable this feature.
Below is a detailed, beginner-friendly, step-by-step guide to help you print Excel sheets with gridlines.
How to Print Excel Sheets with Gridlines?
To print Excel sheets with gridlines, open your worksheet in Excel, go to the Page Layout tab, and check the Print option under Gridlines. Then press Ctrl + P or go to File and select Print. Ensure gridlines are visible in the preview before printing your document.
Let’s learn in detail!
Step 1: Open Your Excel Worksheet
The first step is to open the spreadsheet you want to print. Launch Microsoft Excel from your computer and locate the file you wish to work with. If you already have Excel open, simply go to File and select Open, then browse to your document.
Once your worksheet is open, take a moment to review your data. Make sure everything is properly aligned in rows and columns. This is important because gridlines will only enhance readability if your data is well-organized.
If your worksheet looks cluttered or misaligned, consider adjusting column widths and row heights before proceeding. This will ensure that your printed sheet looks clean and professional.
Step 2: Navigate to the Page Layout Tab
After opening your worksheet, locate the Page Layout tab at the top of the Excel window. This tab contains all the settings related to how your spreadsheet will appear when printed.
Click on the Page Layout tab to reveal additional options. Here, you will find sections such as Page Setup, Scale to Fit, Sheet Options, and Arrange.
Focus on the Sheet Options section. This is where Excel allows you to control the visibility of gridlines and headings for both on-screen display and printing.
Understanding this tab is essential because it gives you control over how your document transitions from a digital format to a printed one.
Step 3: Enable Gridlines for Printing
In the Sheet Options section under the Page Layout tab, you will see two categories for Gridlines, labeled View and Print.
The View option controls whether gridlines are visible on your screen, while the Print option determines whether they appear on your printed document.
To print gridlines, check the box next to Print under the Gridlines section. As soon as you enable this option, Excel prepares your worksheet to include gridlines in the printed version.
This step is crucial. If you skip it, your printed sheet will not display gridlines, even if they are visible on your screen.
Step 4: Preview Your Print Layout
Before printing, it is always a good idea to preview your document. This helps you confirm that gridlines are correctly applied and that your data fits well on the page.
Press Ctrl + P on your keyboard or go to File and select Print. This will open the Print Preview window.
In the preview, look closely at your worksheet. You should now see faint lines separating cells. These are the gridlines that will appear on your printed sheet.
If you do not see gridlines in the preview, go back and ensure that the Print option for gridlines is checked.
You can also adjust settings such as orientation, margins, and scaling in this window to improve the final output.
Step 5: Adjust Page Setup Settings
Sometimes, gridlines may appear too faint, or your data may not fit properly on the page. In such cases, adjusting the Page Setup settings can help.
From the Print Preview screen, click on Page Setup. Here, you can modify options such as paper size, margins, and scaling.
For example, if your worksheet is too wide, you can choose to fit all columns on one page. This ensures that gridlines align properly and your data remains readable.
Taking time to adjust these settings will improve the overall quality of your printed document.
Step 6: Print Your Excel Sheet
Once you are satisfied with the preview and settings, you are ready to print your worksheet.
Click the Print button in the Print Preview window. Make sure your printer is properly connected and selected.
After printing, review the output. You should see clear gridlines separating each cell, making your data easier to read.
If the result is not as expected, you can go back and tweak the settings until you achieve the desired outcome.
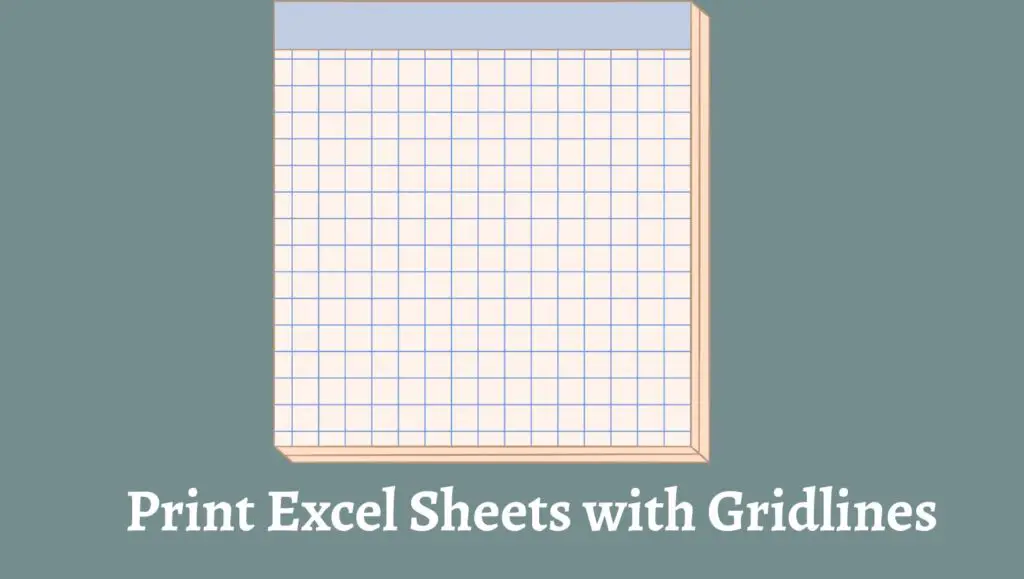
Print Blank Gridlines in Excel
Printing blank gridlines can be useful when you need a template for manual data entry, note-taking, or creating custom tables.
To print blank gridlines, start by opening a new worksheet in Microsoft Excel. Leave the cells empty, but ensure the gridlines are visible on-screen.
Next, go to the Page Layout tab and enable the Print option under Gridlines, just as you would for a regular worksheet.
After that, open the Print Preview to confirm that the gridlines are visible. You will see a blank page with evenly spaced lines forming rows and columns.
You can also adjust the number of rows and columns by setting the print area. To do this, select the range of cells you want to include, then go to the Page Layout tab and click on Print Area, followed by Set Print Area.
Once everything looks good, print the sheet. You will now have a clean grid template that can be used for various purposes.
FAQs
Why are gridlines not printing in Excel?
Gridlines do not print by default in Excel. You need to manually enable the Print option under Gridlines in the Page Layout tab. If this setting is not enabled, gridlines will only appear on-screen.
Can I change the color of gridlines when printing?
Excel does not allow you to directly change the color of default gridlines for printing. However, you can apply cell borders with a specific color if you want more control over the appearance.
What is the difference between gridlines and borders?
Gridlines are the faint lines that appear by default in Excel to separate cells. Borders are manually applied lines that can be customized in terms of thickness and color. Borders always print, while gridlines require enabling the print option.
Why do my printed gridlines look faint?
Gridlines are designed to be subtle. If they appear too faint, consider using borders instead for a more defined look. You can apply borders to your cells using the Home tab.
Can I print gridlines in Excel Online?
Yes, Excel Online also allows you to print gridlines. The process is similar, though the interface may vary slightly. Look for print settings and enable gridlines before printing.