
Repartition an SD Card on Windows, Mac & Android
If your SD card is not working properly, has become corrupted, or you need to create multiple partitions for different purposes, learning how to repartition an SD card can solve the problem. Repartitioning removes the existing partition layout and creates a new one, giving you a fresh start. It is also useful when switching an SD card between different devices, such as cameras, smartphones, gaming consoles, and computers.
Many beginners confuse formatting with repartitioning. Formatting only erases the data inside an existing partition, while repartitioning changes the partition structure itself.
Since repartitioning deletes all existing partitions, every file stored on the SD card will be erased. Therefore, creating a backup before starting is extremely important.
In this guide, I will explain how to repartition an SD card on Windows, Mac, and Android using simple steps.
Repartition an SD Card on Windows, Mac & Android
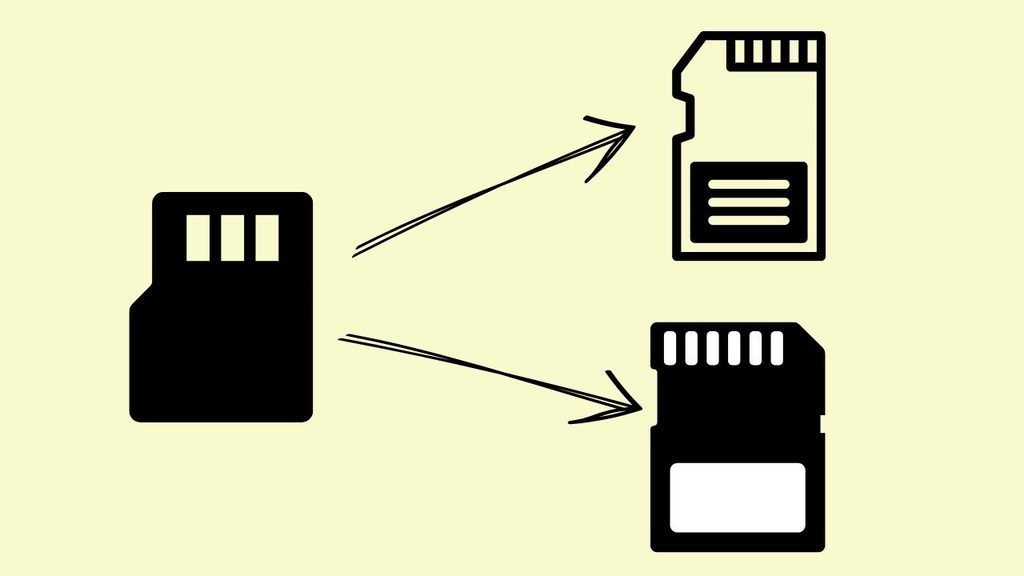
Before repartitioning your SD card, make sure you have a few things ready.
- First, copy all important files from the SD card to your computer or cloud storage because repartitioning permanently removes every partition and all stored data.
- Next, make sure your SD card reader works, and your SD card is properly connected.
- Finally, verify that the SD card is not physically locked using the small write protection switch found on many full-size SD cards.
Now, let’s move towards the platform-wise steps!
1: Repartition an SD Card on Windows
Step 1: Insert the SD Card into Your Computer
Insert the SD card into your computer’s built-in card reader or connect it using a USB card reader. Wait until Windows recognizes the storage device. If File Explorer opens automatically, close it, as Windows management tools will complete the partitioning process.
If Windows does not recognize the card, remove it safely and reconnect it. You can also try another USB port or another card reader if necessary.
Step 2: Open Disk Management
Press Windows + X on your keyboard and select Disk Management. You can also type Create and format hard disk partitions into the Windows Search bar and open the matching result.
Disk Management displays every storage device connected to your computer. Spend a few moments identifying your SD card by checking its storage capacity. This step is very important because selecting the wrong drive could erase another storage device.
Step 3: Delete Existing Partitions
Locate the SD card in Disk Management. Right-click each partition on the SD card and select Delete Volume. Continue until every partition has been removed.
Once finished, the entire SD card will appear as Unallocated Space. This means the old partition layout has been completely removed and the card is ready for repartitioning.
Step 4: Create a New Partition
Right-click the Unallocated Space and select New Simple Volume.
The New Simple Volume Wizard will open. Follow the on-screen instructions to choose the partition size. Most users should allocate the entire storage capacity to create one large partition. However, advanced users can create multiple partitions by assigning smaller sizes.
Choose a drive letter when prompted.
Step 5: Format the New Partition
Select your preferred file system.
Choose FAT32 for maximum compatibility with cameras and older devices.
Choose exFAT for SD cards larger than 32 GB and modern devices.
Choose NTFS if the SD card will only be used with Windows computers.
Enable the Quick Format option if available and finish the wizard. Windows will create the new partition and prepare it for use.
Step 6: Verify the SD Card
Open File Explorer and confirm that the SD card appears with the expected storage capacity. Copy a few small files onto the card and remove them again to confirm everything is working correctly.
2: Repartition an SD Card on Mac
Step 1: Connect the SD Card
Insert the SD card into your Mac using the built-in SD card slot or an external USB card reader. Wait for macOS to detect the storage device before continuing.
Step 2: Open Disk Utility
Press Command + Space to open Spotlight Search. Type Disk Utility and open the application.
Disk Utility displays all connected storage devices in the left panel. Make sure you select the physical SD card rather than an existing volume beneath it.
Step 3: Erase the Existing Partition
Select the SD card and click Erase near the top of the window.
Choose a temporary name for the SD card. Select the appropriate format. Choose MS DOS (FAT) if you need maximum compatibility with older devices.
Choose ExFAT for larger SD cards used with modern operating systems.
Select Master Boot Record or GUID Partition Map, depending on your intended device compatibility.
Click Erase to remove the current partition.
Step 4: Create Additional Partitions if Needed
If you need multiple partitions, select the SD card and click Partition.
Use the partition chart to add additional partitions. You can adjust the size of each partition according to your needs.
Assign names and formats for each partition before applying the changes.
Step 5: Confirm Everything Works
After Disk Utility finishes, the new partition or partitions will appear on your desktop or in Finder. Open each partition to ensure it is accessible and functioning correctly.
3: Repartition an SD Card on Android
Step 1: Understand Android Limitations
Most Android phones cannot repartition SD cards using built-in settings. They can usually format an SD card but cannot create or remove partitions.
If you need to completely repartition an SD card, using a Windows PC or Mac is usually the safest and easiest solution.
Some advanced Android users with root access may use third-party partition management apps, but these tools are intended for experienced users because improper partitioning may cause data loss or make the SD card unreadable.
Step 2: Back Up Your Files
Copy all important files from the SD card to your phone’s internal storage, cloud storage, or another computer before making changes.
Even if you only plan to format the card, assume that all existing files will be permanently deleted.
Step 3: Format the SD Card
Open Settings on your Android device.
Navigate to Storage or Battery and Device Care, depending on your phone manufacturer.
Select the SD card.
Choose Format or Erase SD Card.
Confirm your decision and wait until Android completes the formatting process.
Although this is not true repartitioning, formatting resolves many common SD card problems for Android users.
Step 4: Use a Computer for Advanced Partitioning
If you need multiple partitions or want to completely rebuild the partition table, remove the SD card from your phone and use either the Windows or Mac methods described earlier. Once finished, safely eject the card and insert it back into your Android device.
Common Problems During Repartitioning
Sometimes the repartitioning process does not go as planned.
If Windows reports that the SD card is write-protected, check the physical lock switch on the card. If Disk Management cannot delete a partition, restart your computer and try again.
If your Mac does not detect the SD card, reconnect it or test another card reader.
If Android refuses to recognize the card after repartitioning, ensure you selected a compatible file system such as FAT32 or exFAT.
If the SD card repeatedly becomes corrupted even after repartitioning, the card itself may be reaching the end of its lifespan and should be replaced.
FAQs
Does repartitioning an SD card erase everything?
Yes. Repartitioning deletes every partition and permanently removes all stored data. Always create a backup before beginning.
What is the best file system for an SD card?
FAT32 is ideal for older devices and broad compatibility. exFAT is recommended for larger SD cards and modern devices. NTFS is generally best for Windows-only usage.
Can I repartition an SD card without a computer?
Most Android devices cannot fully repartition SD cards. They usually support formatting only. A Windows PC or Mac is recommended for complete repartitioning.
Why is my SD card showing less storage than expected?
The SD card may contain multiple partitions or hidden partitions created by another device. Repartitioning the entire card usually restores the full available capacity.
Is repartitioning the same as formatting?
No. Formatting prepares an existing partition for use, while repartitioning changes the partition layout by deleting and creating partitions.