
Share or Connect a Printer with Multiple Computers or PCs
Sharing a printer across multiple computers is one of the simplest ways to save money, reduce clutter, and make your home or office setup more efficient. Instead of buying a separate printer for every device, you can connect a single printer and allow multiple PCs to access it over a network. Whether you are working from home, managing a small office, or just want to print from different rooms, printer sharing can make your workflow smoother and more convenient.
Modern operating systems make this process easier than ever, especially if you are using Windows 10 or Windows 11. With the right setup, you can send print jobs from any connected computer without needing to plug in cables each time.
This guide walks you through the entire process step by step, using clear and beginner-friendly instructions so you can get everything working without confusion.
How Printer Sharing Works?
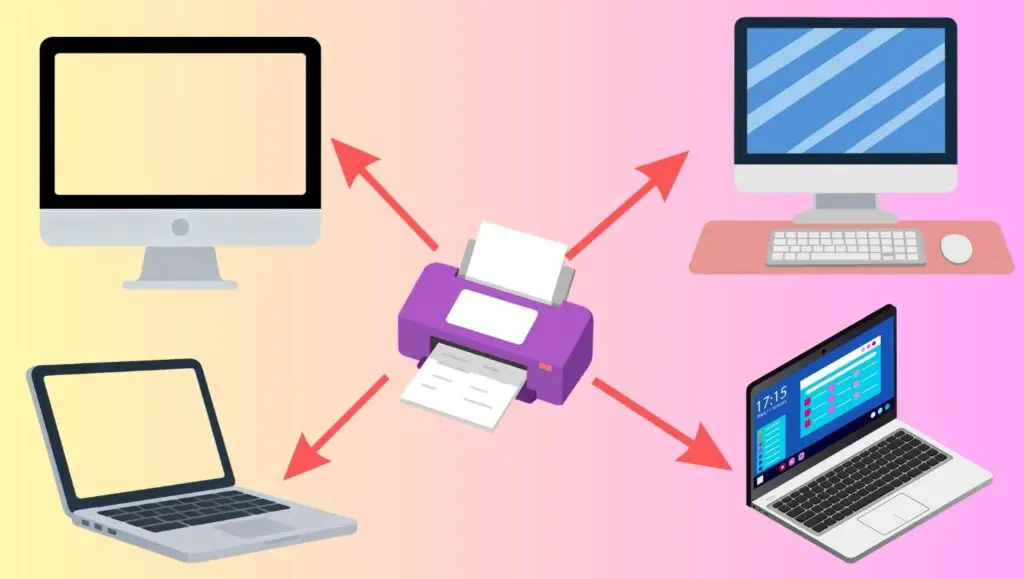
Printer sharing works by designating one computer as the host computer. This host computer is directly connected to the printer using a USB cable or is linked wirelessly. Once printer sharing is enabled on that host system, other computers on the same network can access and use the printer without needing a direct connection.
There are two main ways to share a printer. The first method involves using a locally connected printer that is shared over a network. The second method involves using a network printer, which is already connected to a router via Wi-Fi or Ethernet. This guide focuses primarily on the first method because it is more common for home users and beginners.
Before starting, make sure all computers are connected to the same Wi-Fi network or local network. Also, ensure the printer is properly installed and working on the main PC. Once these basics are in place, you can proceed with the setup.
How to Share or Connect a Printer with Multiple Computers/PCs?
To share a printer across multiple computers, connect the printer to one main PC, enable printer sharing in system settings, connect all devices to the same network, and then add the shared printer on other computers using the network printer option.
Step 1: Connect the Printer to the Main Computer
The first step is to connect your printer to the computer that will act as the primary or host PC. This is the device that will manage the printer and share it with others.
If you are using a USB printer, plug the printer cable into the computer and turn the printer on. Your system should automatically detect the device and install the necessary drivers. If it does not, you can install the drivers manually using the software that came with the printer or by downloading them from the manufacturer’s website.
After connecting, test the printer by printing a sample document. This ensures that the printer is working correctly before you attempt to share it. If the printer does not work at this stage, fix the issue before moving forward because shared access will not function if the host computer cannot print.
Make sure the computer remains powered on whenever other devices need to print. This is important because the shared printer relies on the host PC to process print jobs.
Step 2: Enable Printer Sharing on the Host PC
Once the printer is connected and working, the next step is to enable printer sharing on the host computer.
Start by opening the Control Panel. Navigate to the section labeled Devices and Printers. Here, you will see a list of all installed printers. Right-click on the printer you want to share and select Printer Properties.
In the properties window, go to the Sharing tab. Check the box that says Share this printer. You can also give the printer a simple and recognizable name. This name will be visible to other computers on the network, so choose something easy to identify, such as OfficePrinter or HomePrinter.
After enabling sharing, click Apply and then OK to save your changes. At this point, the printer is officially available for other devices to connect to, but they still need to be configured individually.
Step 3: Turn On Network Discovery and File Sharing
For printer sharing to work properly, your system needs to allow communication between devices on the network. This is done by enabling Network Discovery and File and Printer Sharing.
Open the Control Panel again and go to the Network and Sharing Center. Click on Change advanced sharing settings. Under your current network profile, turn on Network Discovery and make sure File and Printer Sharing is also enabled.
Scroll down to the section labeled All Networks. Here, you may want to disable password-protected sharing if you want easier access from other computers. However, if security is a concern, you can keep it enabled and use login credentials when connecting.
After making these changes, save your settings. This step ensures that other computers can see and access the shared printer.
Step 4: Connect Other Computers to the Shared Printer
Now it is time to connect other PCs to the shared printer. Each computer must be connected to the same network as the host PC.
On the secondary computer, open Settings and go to Devices, then click on Printers and Scanners. Select the option to Add a printer or scanner. Your system will begin searching for available devices.
If the shared printer appears in the list, select it and click Add Device. The system will automatically install the necessary drivers and complete the setup.
If the printer does not appear automatically, click on the option that says The printer that I want isn’t listed. Choose the option to add a printer by name or network path. Enter the path using the format: double backslash followed by the host computer name and printer name.
For example, it may look like this: \HostPCName\PrinterName
Once entered, click Next and follow the on-screen instructions. After installation, you should be able to print from the secondary computer just like you would from the main one.
Step 5: Test the Shared Printer Connection
After setting up the printer on all devices, it is important to test the connection. Open a document on one of the secondary computers and select Print. Choose the shared printer from the list and send the print job.
If everything is set up correctly, the document should begin printing through the host computer. If the printer does not respond, check that the host PC is turned on and connected to the network.
Testing ensures that all devices can communicate properly and helps you identify any issues early.
Troubleshoot Common Issues
Sometimes, printer sharing may not work as expected. Common problems include the printer not appearing in the list, connection errors, or failed print jobs.
Start by checking that all computers are connected to the same network. Verify that the host PC is powered on and that printer sharing is still enabled. Restarting both the printer and computers can often resolve minor issues.
If the problem persists, check your firewall settings. Some firewalls may block network communication. Allow File and Printer Sharing through the firewall settings to fix this issue.
Updating printer drivers on all systems can also improve compatibility and performance. Always use the latest version available from the manufacturer.
Tips for Using a Single Printer with Multiple PCs
Using one printer across multiple computers can be very convenient, but there are a few best practices that can make the experience smoother.
Keep the host computer powered on when printing is needed. Since all print jobs pass through this device, turning it off will prevent others from accessing the printer.
Use a stable and reliable network connection. Weak Wi-Fi signals can cause delays or failed print jobs. If possible, place the printer and host PC closer to the router.
Assign a clear and simple name to the shared printer. This helps users quickly identify the correct device when printing.
Regularly update your system and printer drivers. Updated software ensures better performance and reduces compatibility issues.
Avoid sending large print jobs from multiple computers at the same time, especially if the host PC has limited resources. This can slow down processing and cause delays.
FAQs
Can I share a printer without keeping the main computer on?
No, if you are using a locally connected printer, the host computer must remain on because it processes all print jobs. If you want always-on access, consider using a network printer.
Is printer sharing secure?
Yes, printer sharing can be secure if configured properly. You can enable password protection to restrict access and ensure only authorized users can connect.
Why is my shared printer not showing up on other computers?
This usually happens when Network Discovery or File and Printer Sharing is turned off. Make sure both settings are enabled and that all devices are on the same network.
Can I share a printer between different operating systems?
Yes, but it may require additional configuration. For example, sharing between Windows and macOS systems may involve installing compatible drivers and adjusting network settings.
What is the difference between a shared printer and a network printer?
A shared printer is connected to one computer and accessed through it, while a network printer connects directly to the network and does not rely on a single PC.