
Windows Stuck on Preparing Automatic Repair
Seeing Preparing Automatic Repair on your Windows computer can be worrying, especially when the screen stays there for a long time and Windows never reaches the desktop. This usually means that Windows has detected a problem during startup and is attempting to diagnose or repair it automatically.
In some cases, the repair process finishes normally, and Windows starts. However, if the computer remains stuck on Preparing Automatic Repair, repeatedly restarts, or shows a blank screen, there may be a deeper startup problem.
The cause can range from a failed Windows update and damaged system files to disk errors, corrupted boot configuration, driver problems, or an unexpected shutdown. Fortunately, you can try several recovery methods without immediately reinstalling Windows.
In this guide, I will explain how to fix Windows stuck on Preparing Automatic Repair in Windows 11 and Windows 10.
Windows Stuck on Preparing Automatic Repair [Complete Fix]
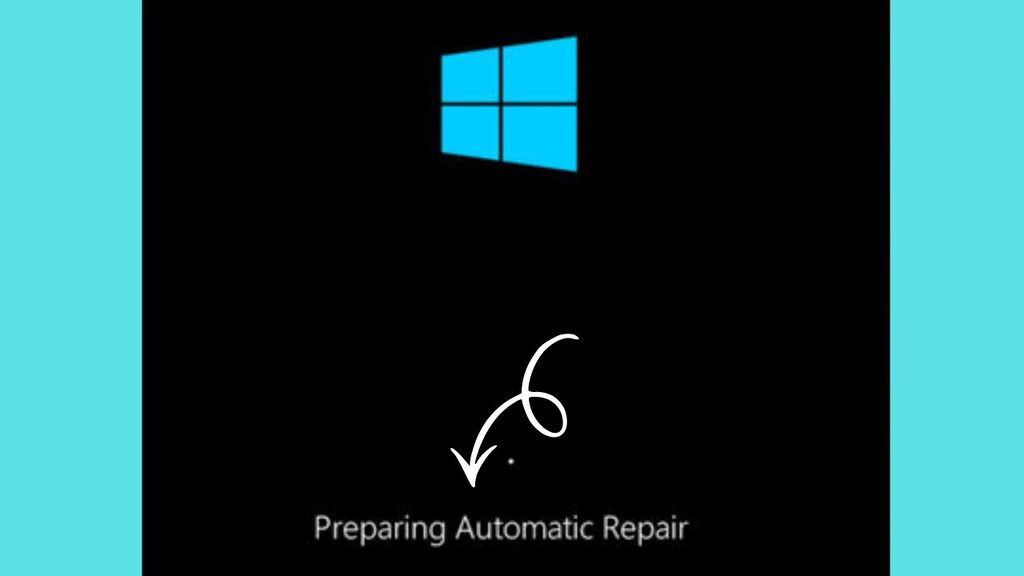
When Windows is stuck on Preparing Automatic Repair, the computer is usually unable to complete the normal startup process. First, give the repair process some time if the computer has just experienced a major problem. If it remains stuck for an unusually long period or repeatedly returns to the same screen, you can enter the Windows Recovery Environment and try startup repair, uninstall recent updates, use System Restore, repair system files, check the drive, or rebuild the boot configuration.
Let’s explore the steps in detail!
Step 1: Wait and Check Whether Windows Completes the Repair
Before making changes, give Windows some time to complete the automatic repair process.
If your computer recently experienced a power failure, forced shutdown, failed update, or serious system crash, Windows may need additional time to check the startup environment.
Leave the computer connected to its power adapter if you are using a laptop. Avoid repeatedly pressing the power button while Windows is working.
If the screen remains on Preparing Automatic Repair for a very long time without any progress, or if the computer continuously restarts and returns to the same message, the repair process may be stuck.
In that situation, move to the next step.
Step 2: Perform a Forced Restart
If Windows is completely unresponsive, you may need to restart the computer manually.
Press and hold the computer’s Power button until the machine turns off. This normally takes several seconds.
Wait for a few seconds after the computer shuts down. Then press the Power button again to start it.
Windows may attempt Automatic Repair again. If it successfully starts Windows, allow the system to finish loading and then restart the computer normally once more.
If the computer becomes stuck at the same screen again, you need to access the recovery tools.
Step 3: Enter the Windows Recovery Environment
The Windows Recovery Environment, often called WinRE, contains several tools that can help repair startup problems.
If Windows repeatedly fails to start, it may automatically open the recovery screen. If you see Automatic Repair, select Advanced options instead of continuing to wait.
You can then select Troubleshoot to access additional recovery options.
If the recovery screen does not appear automatically, interrupt the normal startup process a few times by turning off the computer while Windows begins loading. After several failed starts, Windows may enter the recovery environment automatically.
Once you reach Choose an option, select Troubleshoot.
Be careful when selecting recovery options because some choices can remove applications, settings, or personal data.
Step 4: Run Startup Repair
The first recovery tool to try is Startup Repair.
From the recovery environment, select Troubleshoot, then choose Advanced options.
Select Startup Repair.
Windows will check the files and settings required for the computer to start. It may automatically correct problems affecting the boot process.
The process can take some time. Do not turn off the computer while Startup Repair is running.
When the repair finishes, Windows may restart automatically. Check whether you can reach the normal desktop.
If Windows is still stuck on Preparing Automatic Repair, return to the recovery environment and continue with the next method.
Step 5: Remove a Recently Installed Windows Update
A recent Windows update can occasionally cause startup problems, particularly if the update was interrupted or did not install correctly.
Open Troubleshoot > Advanced options in the Windows Recovery Environment.
Look for Uninstall Updates and select it.
Depending on your Windows version, you may see options to uninstall the latest quality update or the latest feature update.
Start with the latest quality update because it is generally the smaller and more recent type of update.
Follow the instructions on the screen and allow Windows to restart.
If the problem began immediately after a Windows update, this method can sometimes restore normal startup.
Step 6: Try System Restore
If System Restore was previously enabled, you may be able to return Windows to an earlier working state.
From Advanced options, select System Restore.
Windows may ask you to choose your user account and enter your account password.
You will then see available restore points. Select a restore point created before the Preparing Automatic Repair problem began.
System Restore can reverse certain system changes, drivers, applications, and Windows configuration changes. It is designed to restore system settings without normally removing your personal documents.
Select the appropriate restore point and follow the instructions.
After the process finishes, restart the computer and check whether Windows starts normally.
Step 7: Start Windows in Safe Mode
Safe Mode starts Windows with a limited set of drivers and services. It can be useful when a recently installed driver or third-party application is causing startup problems.
From Advanced options, select Startup Settings and then choose Restart.
After the computer restarts, you will see a list of startup options. Select the option for Safe Mode.
If Windows successfully starts in Safe Mode, the problem may be related to a recently installed application, driver, or startup service.
You can then remove recently installed software or drivers and restart Windows normally.
If Safe Mode also fails to start, return to the recovery environment and continue troubleshooting.
Step 8: Repair Corrupted Windows System Files
Damaged Windows system files can prevent the operating system from starting correctly.
You can use Command Prompt from the Windows Recovery Environment to run repair commands.
Open Troubleshoot > Advanced options > Command Prompt.
Depending on your recovery environment, the Windows installation may not use the usual C: drive letter. You may need to identify the correct Windows drive before running commands.
A commonly used repair command is:
sfc /scannow /offbootdir=C:\ /offwindir=C:\Windows
Replace the drive letter if Windows is installed on another drive.
The System File Checker scans protected Windows system files and attempts to repair damaged versions.
Allow the scan to complete. Do not close Command Prompt while it is working.
Afterward, restart the computer and check whether Windows starts normally.
Step 9: Check the Drive for Errors
Problems with the Windows drive can also cause startup failures.
Open Command Prompt from Advanced options and run a disk-checking command such as:
chkdsk C: /f
Again, make sure C: is actually the drive containing your Windows installation.
The command checks the file system for errors and attempts to correct certain problems.
The process can take a considerable amount of time, particularly on a large or damaged drive. Do not interrupt it unless absolutely necessary.
If Windows continues to fail after the disk check, the storage drive itself could have a hardware problem.
Step 10: Repair the Windows Boot Configuration
A damaged boot configuration can prevent Windows from starting correctly.
From the Windows Recovery Environment, open Command Prompt.
You can try rebuilding startup information using Windows boot repair commands. Because the exact commands required can vary depending on whether the computer uses UEFI or an older boot configuration, do not randomly enter commands from unrelated guides.
If you are comfortable with Command Prompt, identify the Windows installation and system partition first. Advanced boot repair is particularly important when Windows displays messages about missing boot files or cannot find the operating system.
If you are unsure about your partitions, avoid deleting or formatting anything. Incorrect changes to partitions can make the situation considerably worse.
Step 11: Disconnect External Devices
Sometimes a connected device can interfere with startup.
Turn off the computer and disconnect unnecessary USB drives, external hard drives, memory cards, printers, docking stations, and other peripherals.
Keep only essential hardware connected, such as the keyboard, mouse, monitor, and power adapter.
Start the computer again.
If Windows starts normally after removing an external device, reconnect your devices one at a time to determine which one may have caused the problem.
This is a simple step, but it can save considerable troubleshooting time.
Step 12: Check for Hardware Problems
If Windows continues to get stuck on Preparing Automatic Repair, the problem may not be caused by Windows itself.
A failing SSD or hard drive, defective RAM, overheating, power problems, or another hardware issue can cause repeated startup failures.
If your computer manufacturer provides built-in hardware diagnostics, run them. Many computers can open hardware diagnostics using a special key during startup.
Pay particular attention to any diagnostic result related to the storage drive or memory.
If the storage drive reports a serious hardware failure, avoid repeatedly attempting repairs because continued use may make recovering important files more difficult.
Step 13: Reset Windows as a Last Thing
If none of the repair methods work, you can consider Reset this PC.
Open Troubleshoot from the Windows Recovery Environment and select Reset this PC.
Windows normally gives you options such as Keep my files or Remove everything.
The Keep my files option attempts to reinstall Windows while preserving personal files, although applications and some settings may be removed.
The Remove everything option is much more destructive because it removes personal files, applications, and settings.
Before choosing either option, make sure you understand what will happen and back up important data if you can access it.
If the files on the computer are extremely important and you cannot back them up, consider professional data recovery or technical assistance before performing a reset.
FAQs
Why is my computer stuck on Preparing Automatic Repair?
Windows may be stuck because of corrupted system files, a failed update, damaged boot information, disk errors, incompatible drivers, or hardware problems.
How long should Preparing Automatic Repair take?
There is no single fixed time. It depends on the problem and the speed and condition of your storage drive. If the computer remains stuck for an unusually long period or repeatedly returns to the same screen, troubleshooting is appropriate.
Will Automatic Repair delete my files?
The normal Automatic Repair process is designed to repair startup problems rather than intentionally delete your personal files. However, some advanced recovery options, particularly Reset this PC, can remove applications, settings, or personal files depending on the option selected.
Can I turn off my computer while Preparing Automatic Repair is running?
You should avoid interrupting the process when Windows is actively working. If the computer has clearly become unresponsive for a very long time, a forced restart may be necessary to reach the recovery environment.
Can Safe Mode fix Preparing Automatic Repair?
Safe Mode can help when a third-party application, driver, or startup service is causing the problem. It does not fix every type of startup failure, particularly hardware or serious disk problems.
What if Startup Repair does not fix the problem?
You can try Uninstall Updates, System Restore, Safe Mode, system file repair, disk checking, and boot configuration repair. If those methods fail, consider backing up your files and using Reset this PC or getting professional assistance.
Can a failing hard drive cause Automatic Repair?
Yes. A failing hard drive or SSD can cause corrupted files, read errors, and repeated startup failures. Hardware diagnostics can help determine whether the storage device is experiencing a problem.
Summary
Getting stuck on Preparing Automatic Repair does not necessarily mean that your Windows installation is permanently damaged. The problem can be caused by something as simple as a failed update or corrupted system file, but it can also indicate a more serious storage or hardware issue.
Start by allowing Windows some time to complete the repair. If it remains stuck, enter the Windows Recovery Environment and try Startup Repair. If that does not work, move through Uninstall Updates, System Restore, Safe Mode, system file repair, disk checking, and boot configuration repair.
You should also disconnect unnecessary external devices and run hardware diagnostics if the problem continues. If every repair method fails, Reset this PC may be the final software-based solution.
Most importantly, avoid randomly deleting partitions, system files, or registry entries.
If your computer contains important files and you suspect a failing storage drive, prioritize data backup and recovery before performing destructive repair operations.